First steps with Android Studio IDE
Like you must know, Google officially announced the first release of Android Studio recently. So, Android Studio is the official Android Studio IDE ! Time is come to migrate from Eclipse with ADT (Android Development Tools) to Android Studio IDE.
1. Installation
Go on the following URL : http://developer.android.com/sdk/index.html and start to download the Android Studio IDE for your OS.
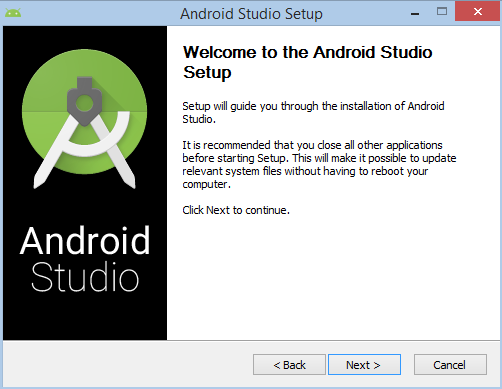
Once you have downloaded the bundle, launch the installation by double clicking on the exe file. The setup process starts.
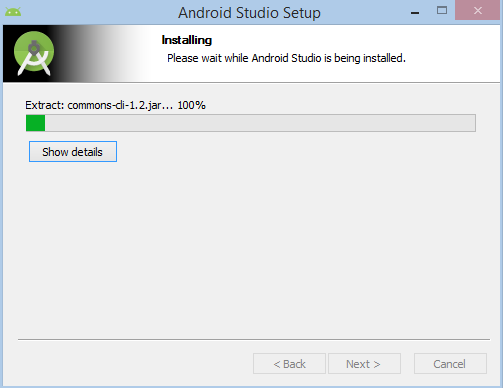
In the next screens, you have to configure your installation. You can use your existing Android SDK or download it during Android Studio installation. Then, installation continues :
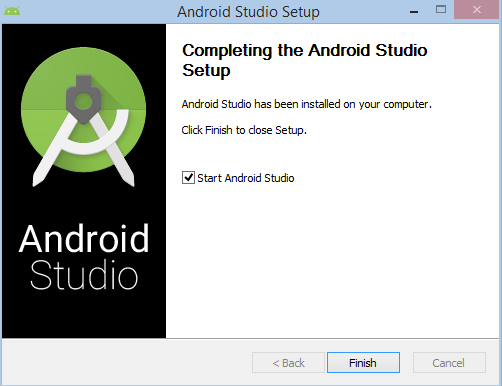
When installation is completed, you can start Android Studio by checking the correct option and click on Finish :
When Android Studio is launched, the first screen is a wizard letting you to choose what you want to do :
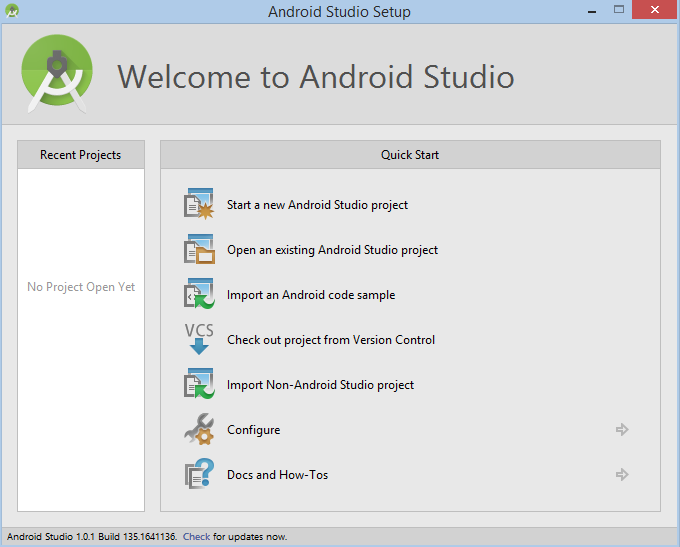
Here, choose to start a new Anroid Studio project because it’s the purpose of the tutorial.
2. Your first Android Studio project
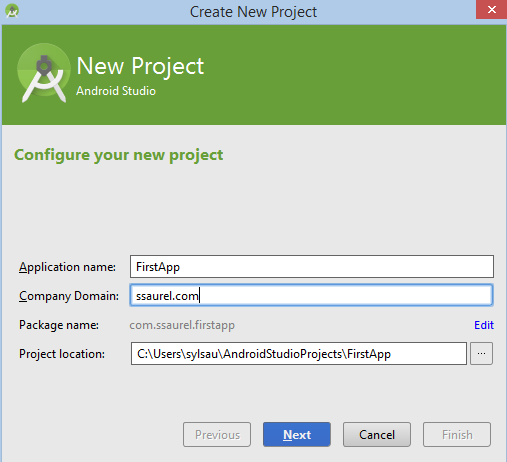
On the following wizard screen, you can configure your project name, its main package and its path on your computer.
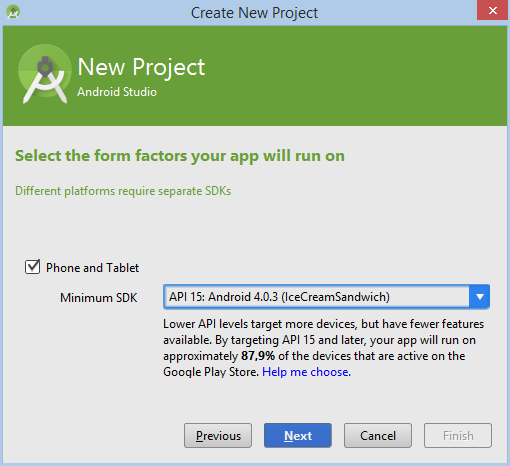
Then, you must choose the minimum SDK for your project and if you target phones and tablets. A message indicates you the percentage of Android users that you can reach by chosing your minimum Android SDK. A simple but very interesting feature.
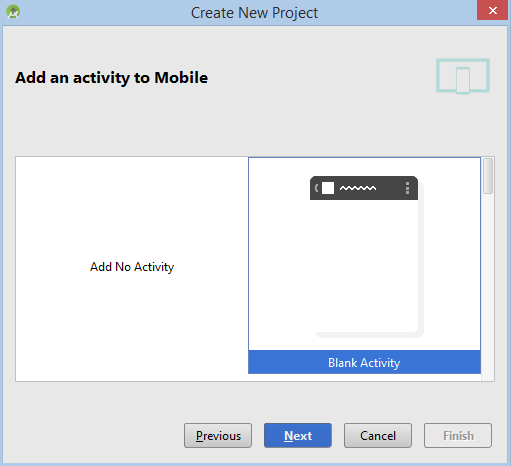
We choose to create a blank activity on next screen :
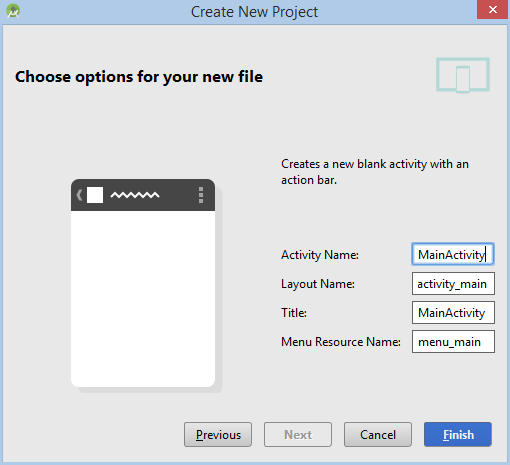
To finish the creation, you define activity name, layout name and title of your application :
Creation of Gradle build file for your project can take some time :

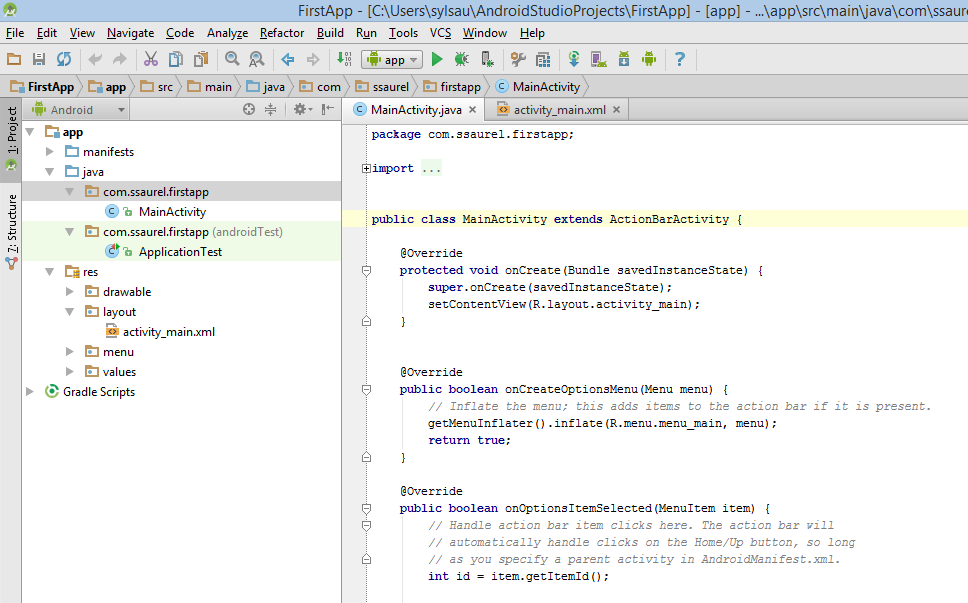
When Android Studio is open, you see normally your project :
3. Run your first Hello World
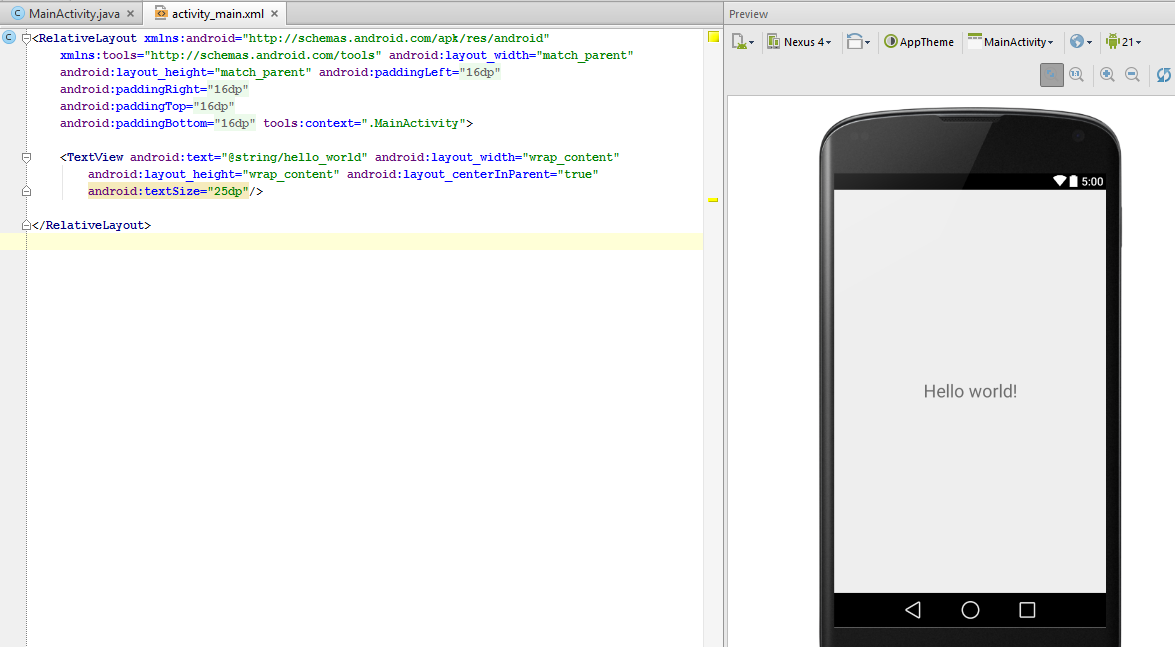
Now, you can run your first Hello World application with Android Studio IDE. Before that, you can enjoy the new features offered by the IDE like a very nice preview support when you edit your layout for example :
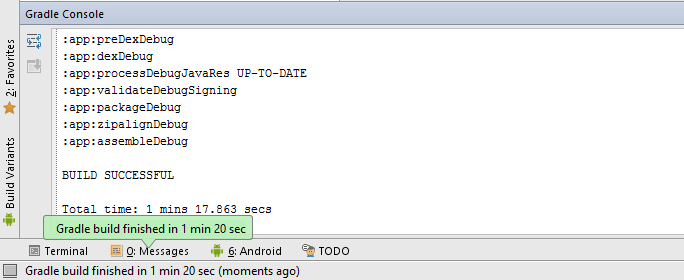
Now, to run app you must click on the play icon button. It launches the Gradle build of your project that you can see in the dedicated Gradle console :
When project is built, a popup opens and you must choose the devices where the application will be launched. It lists real devices or Android Virtual Devices (AVD). At the bottom of the window IDE, you will see the Android tab to access logcat from devices of your choice :

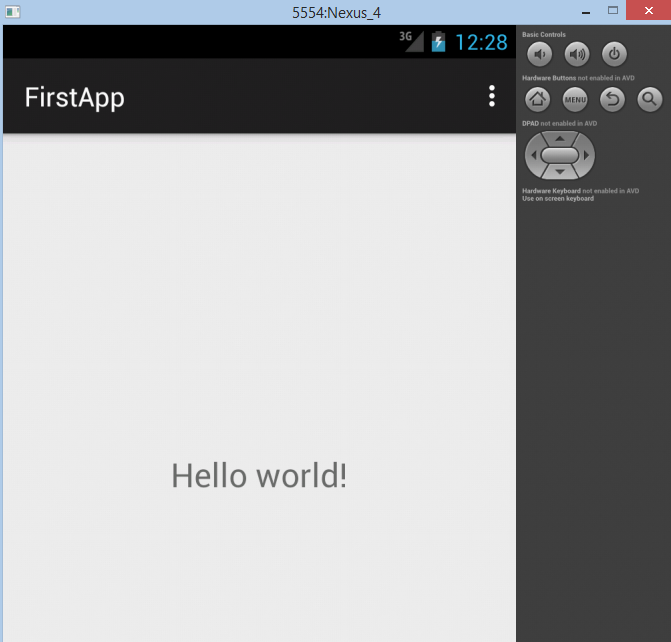
You can see the final result of your first application : a classic Hello World created with Android Studio IDE


Leave a Reply
You must be logged in to post a comment.