Creating a Flipping Bits Game in Python With Tkinter
After having proposed a tutorial showing you how to develop a program to create a Sitemap generator in Python, I continue my comeback to the Python language with the creation of a little game.
The goal here is to show you how to use the Tkinter GUI library that comes standard with Python. The game I have chosen is not revolutionary, but it is interesting enough to allow you to play it a little once you have finished the program we are going to develop.
This game is called Flipping Bits.
If you are a programmer, I assume that you have already developed it at least once in your career, but if you haven’t, this is your chance to fill that gap.
From a square grid (in 2 dimensions) composed of 0 and 1 randomly generated, the goal is to obtain a target grid by performing operations of two types:
- A click on a column reverses all the 0’s and 1’s of the column. This operation is called flipping a column.
- A click on a row reverses all the 0s and 1s in the row. This operation is called flipping a row.
You solve this puzzle when you get the target grid.
Concretely, here is an initial grid of dimension 3×3:
0 1 0
1 0 0
1 1 1
Here is the grid you want to obtain:
1 0 1
0 1 1
0 0 1
Let’s say you click on column 1 of the initial grid, you would have the following configuration:
1 1 0
0 0 0
0 1 1
And so on.
Modeling the program
Our program will be divided into two classes.
The first one will be a FlippingBitsGame class which will model the game itself with methods to flip a column and a row, but also to generate a new grid.
The second class will be called FlippingBitsGUI. It will model the graphical part of the game by managing the graphical part but also the interactions with the user. I think here in particular of the click on a column and a row, as well as the message telling the player that he has won.
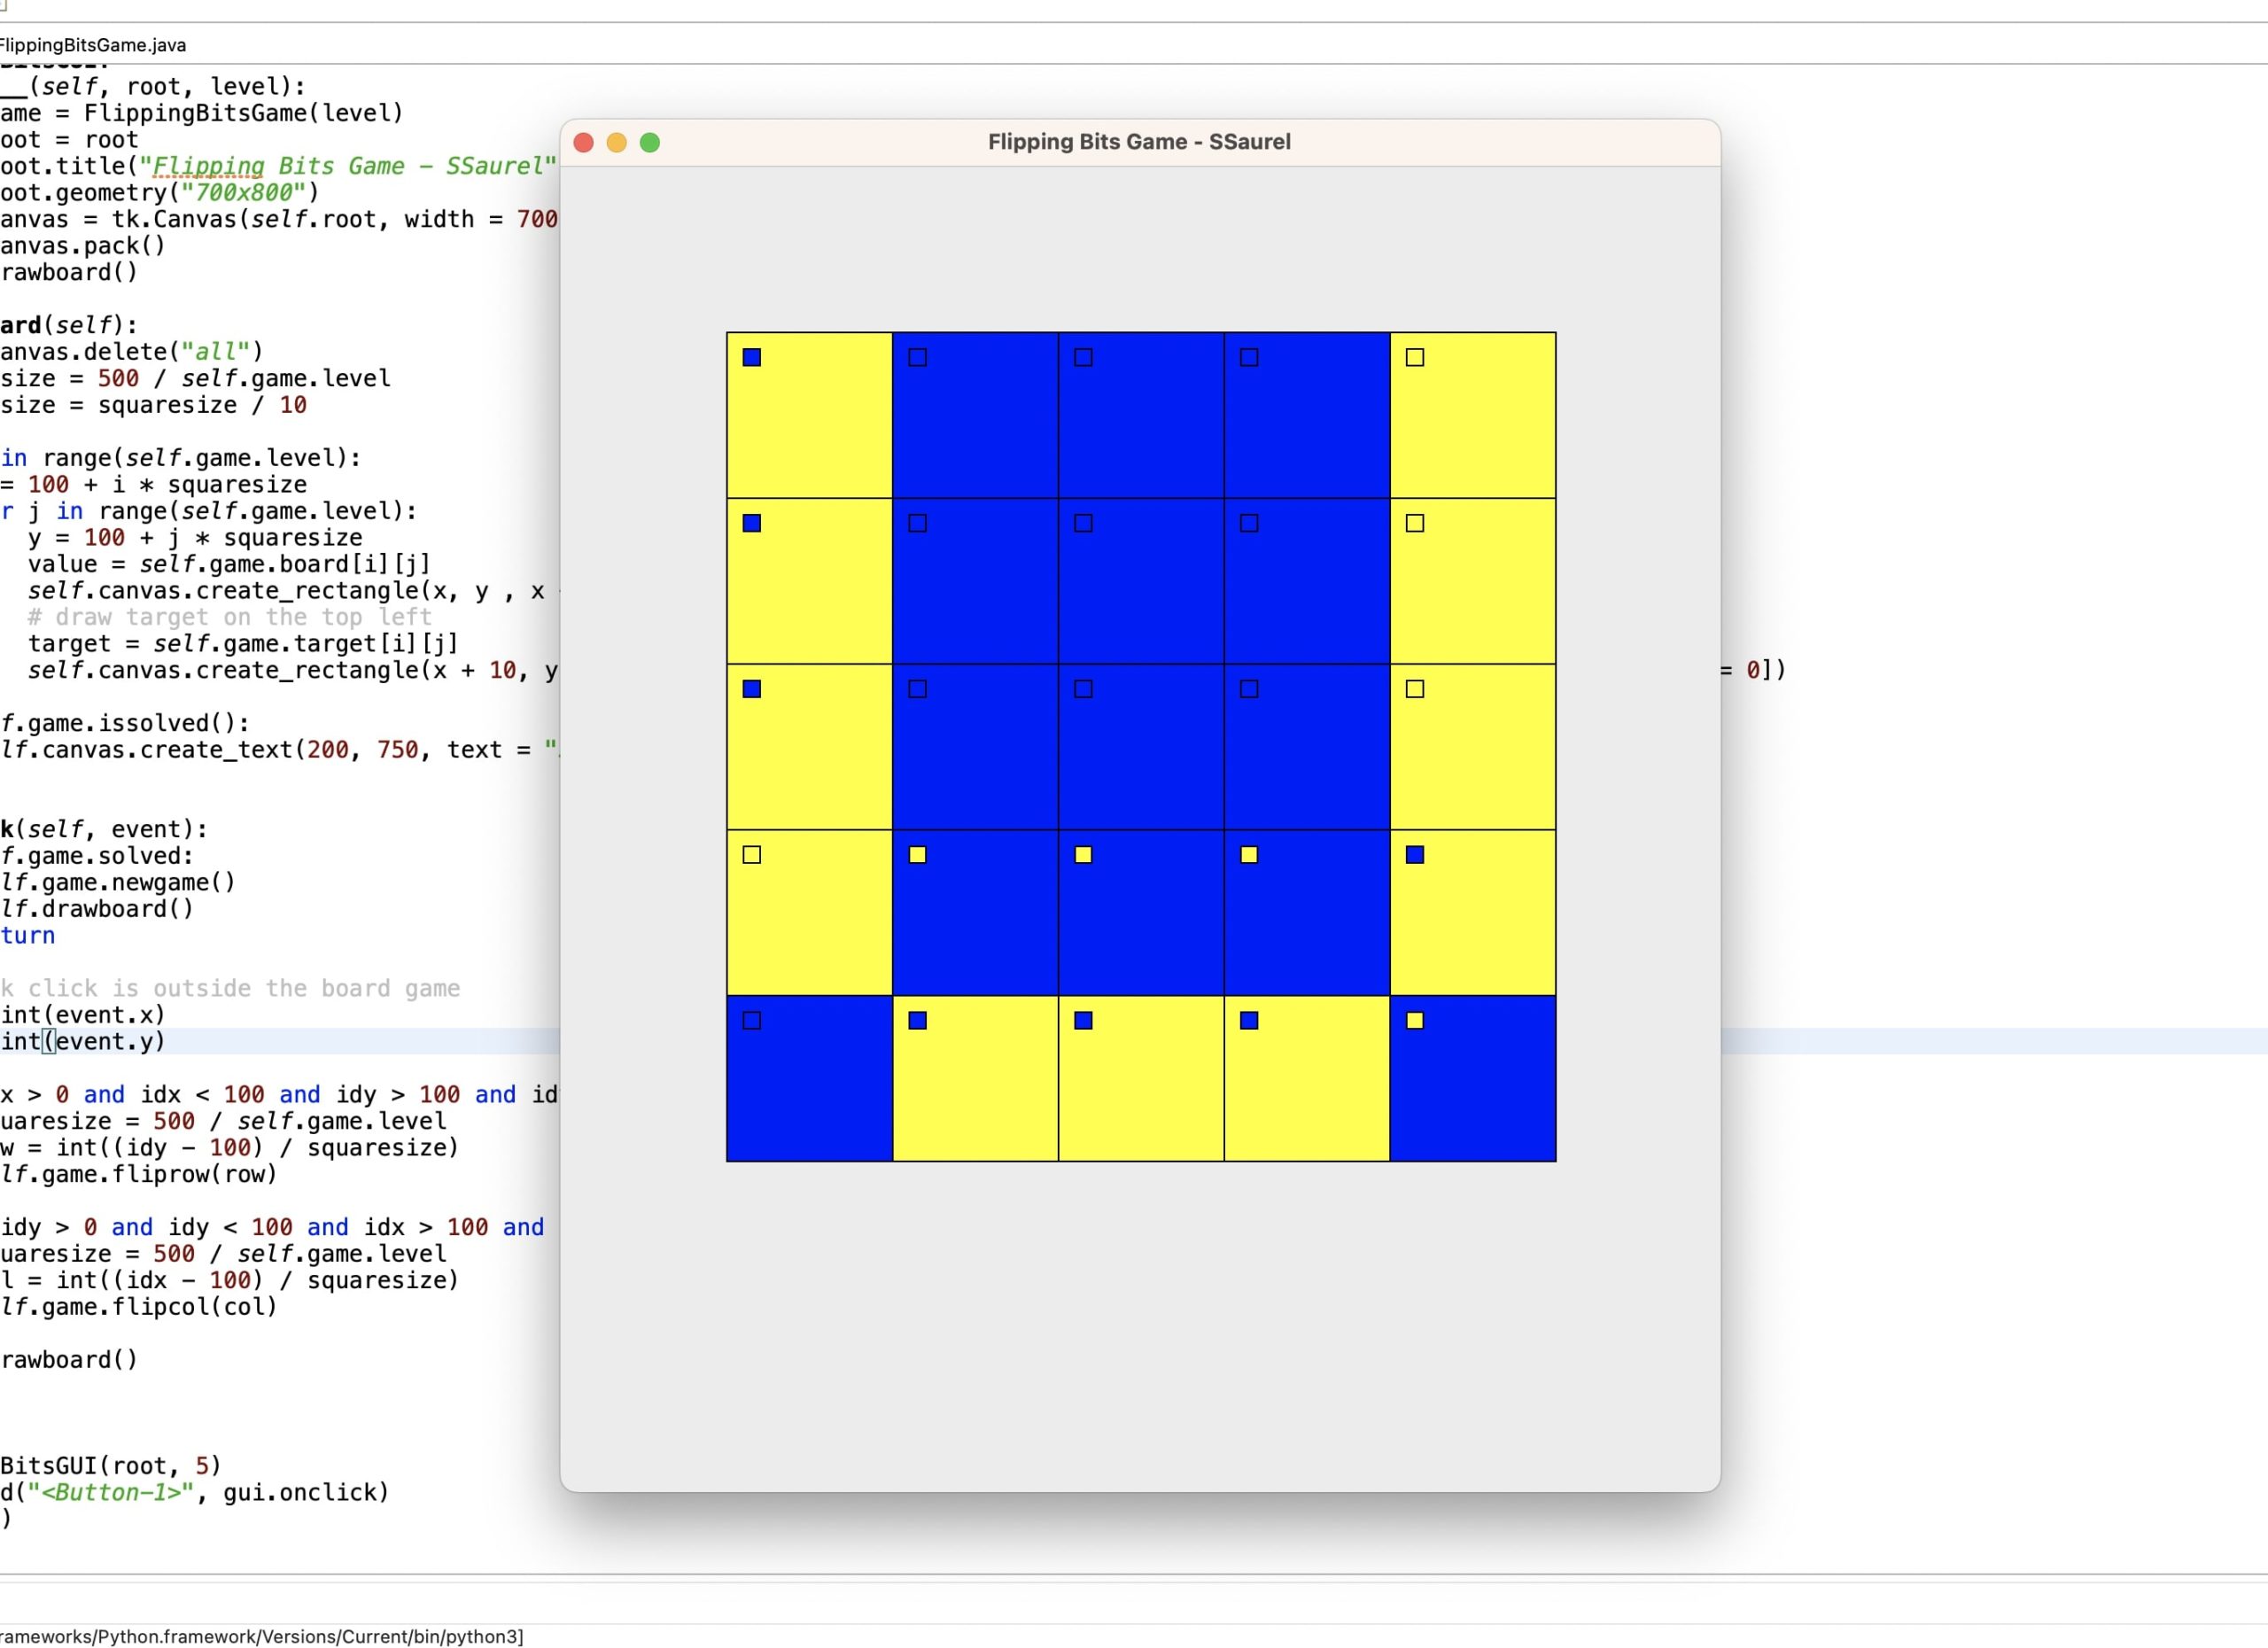
To materialize a 0, we will use the yellow color. The blue color will be reserved for the number 1.
When displaying the squares of the grid, a small square with the target color for that square should be placed in the upper left corner. This will allow the player to know the goal to be reached to solve the Flipping Bits Game.
Creating the FlippingBitsGame class
In the constructor of the FlippingBitsGame class, we define level as a data member. This corresponds to the size of our square grid. Then, we define two two-dimensional arrays to store respectively the grid to be reached and the current grid.
We define a boolean solved which will indicate if the grid is solved or not. Finally, we call a method newgame which will be defined later. It will allow to create a new game.
We then define a flipcol method and a fliprow method.
The flipcol method will invert all the values of the cells of a column within the grid to be solved. The fliprow method will do the same job for the values of the cells in a row of the grid.
When these methods are called, the 0’s become 1’s, and the 1’s become 0’s.
This gives us the following code for these two methods:
In order to create a different grid between the target and the one from which the player will play, we define a shuffle method that will perform different flipping operations randomly on the rows and columns.
This gives the following code:
The newgame method can then be defined. A new game can only be created if the grid is marked as resolved. To do this, we check the value of the data member solved.
Then, we will iterate to create a target grid to reach different from the current one. For this, it will be necessary to call the shuffle method and to copy the current grid into the target grid.
If the current grid is not already solved, then the work is finished. Otherwise, the iteration continues. It would be a pity to propose to the player a grid already solved …
It remains to finish the code of this class FlippingBitsGame with the method issolved which will check if the current grid corresponds to the grid to be reached.
This gives us the following code for the FlippingBitsGame class:
Creating the FlippingBitsGUI class
With our FlippingBitsGame class finished, it’s time to move on to the FlippingBitsGUI class which will display to the user the state of the grid to be solved, but also manage the interactions.
When I talk about interaction, I mean the click to flip a column or a row to solve the grid to reach the target grid, which will be displayed as the small squares in the upper left corner.
In the constructor of the FlippingBitsGUI class, we create an instance of the game by using the FlippingBitsGame class.
As input parameter we get the root of the GUI which will allow us to create the Canvas in which the game will be rendered. We finish by calling a drawboard method which displays the grid on the screen.
Within this drawboard method, we reset the canvas via the call to the delete method of the canvas object.
We calculate the size of a square in relation to the number of boxes to display for the square. We also take the opportunity to calculate the size of the small square that will be displayed in the upper left corner.
Then, it is necessary to iterate on each cell of the table allowing to store the grid. For each cell, we will draw a rectangle filled with the color yellow if the value of the cell is 0 and blue otherwise.
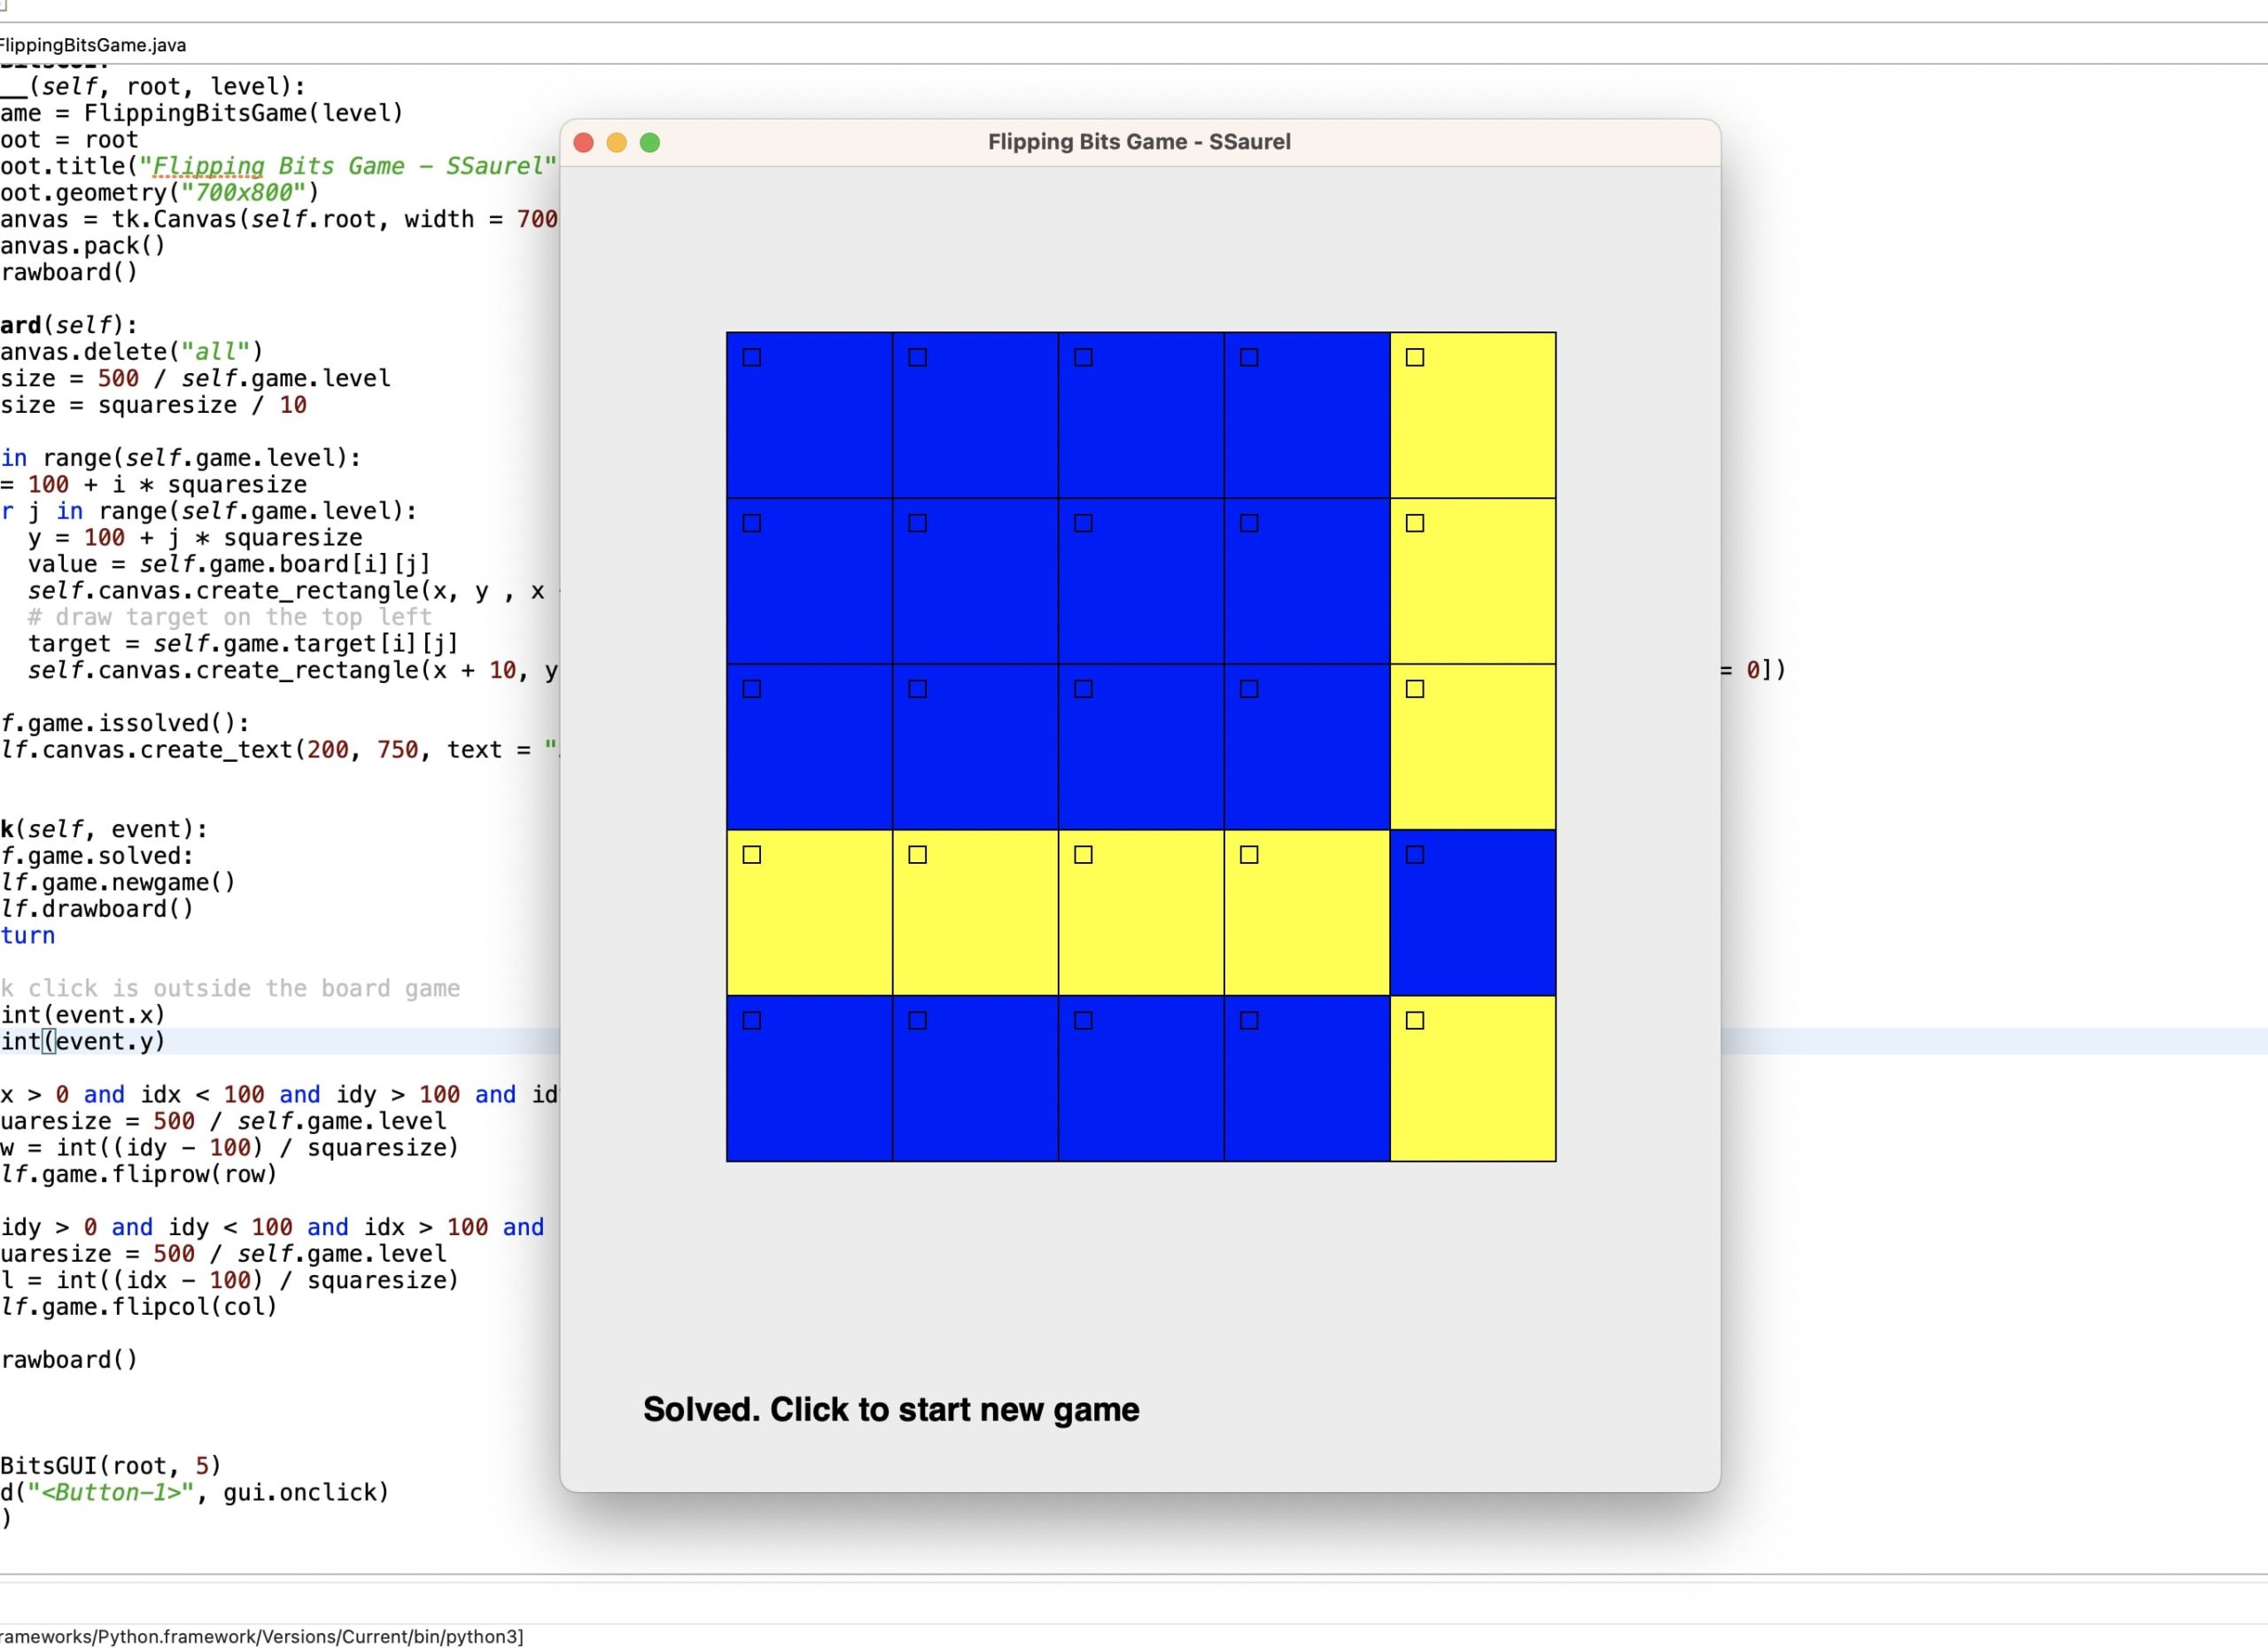
At the end of the method, we check if the game has been solved by the user by calling the issolved method of the FlippingBitsGame object. If the game has been solved, then we display a message to the user telling him that he only has to click to generate a new game.
This gives us the following code for the drawboard method:
We still have to manage the user’s click to flip the columns. Nothing very difficult, but we must be careful to transform a click into a column or row number.
Obviously, before anything else, we will check that the grid is not already solved. If it is, then this click means that a new set must be generated.
Then we get the coordinates of the user click. We check that these coordinates are outside the grid. If the click is on the right or left side of the grid, then we get the line to flip. Then we call the fliprow method on the FlippingBitsGame instance.
If the click is located at the top or bottom of the grid, then we get the column to flip. Then we call the flipcol method on the FlippingBitsGame instance.
Once these operations are done, we have to call the drawboard method to draw the GUI again.
This gives us the following code for the onclick method:
Assembling the classes
Finally, we have to assemble our classes to launch the game. We create the root via the call to the Tk method of the tk object from Tkinter. We create a FlippingBitsGUI with a level set to 5. We link the left mouse button to the onclick method of the FlippingBitsGUI object. We launch the application by calling the mainloop method on the Tkinter root.
This gives us the following complete code for our game:
Our Flipping Bits Game in Action
The best part of the tutorial is here as we can put our Flipping Bits Game into action.
Here is the first display that awaits us:
The only thing left to do is to find the solution. After a few clicks, more or less according to your sense of logical reasoning (:P), you will obtain the following solved grid:


Leave a Reply
You must be logged in to post a comment.