First steps with Android Wear
Announced during Google I/O 2014, Android Wear is the Android platform for wearable devices. It extends the Android platform to a new generation of devices with a user experience targeting wearables’ specifities. Actually only Smart Watches are supported by Android Wear but trust that Google will extend the platform into other forms of wearables in the near future.
Actually, Android Wear have several use cases :
- Measure fitness activities
- Get notifications of new mails, calls and text messages
- Reponse to texts, emails and instant messages by voice
- Control various stuffs of your Android Smartphone from your Smart Watch like Play / Pause music for example
- Ask questions and get answers thanks to Google Now simply by saying “Ok Google”
1. Installation
First step is to install Android Wear on your computer. To achieve that, open Android SDK Manager on your computer and check Android Wear System Image are well installed. Best thing is to use last SDK version : Android 5.0.1 (API 21).
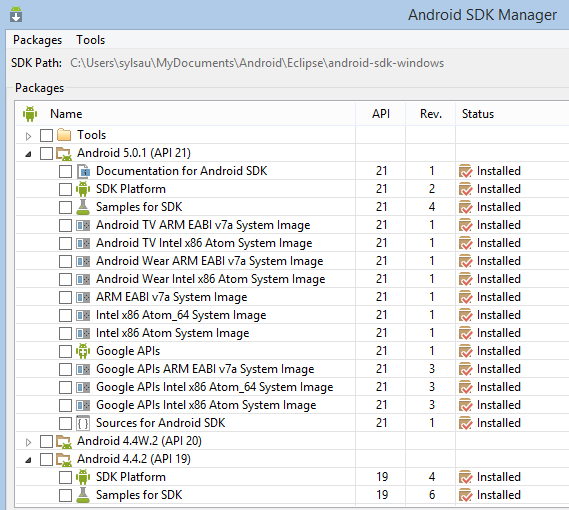
Here, we see that Android Wear System Images are correctly installed for Android 5.0.1 . If it’s not the case for you, install packages.
2. Create Android Wear AVD
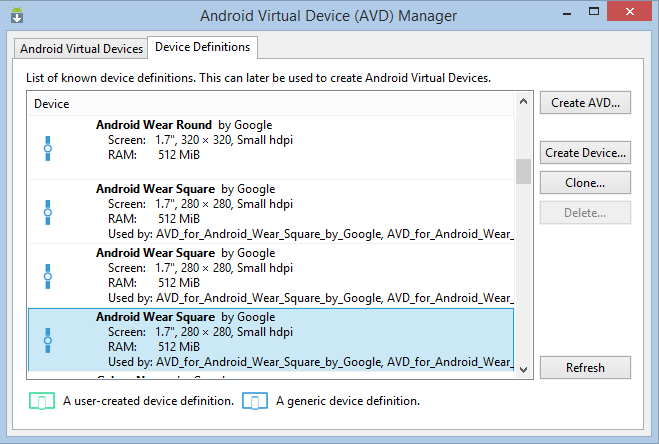
Now, you can create an Android Wear virtual device if you don’t have a Smart Watch. Open Android Virtual Device Manager and go on Device Definitions tab. Choose an Android Wear device. There are several models and 2 skins types : round or square. Here, we choose a square model and we create the Android device.
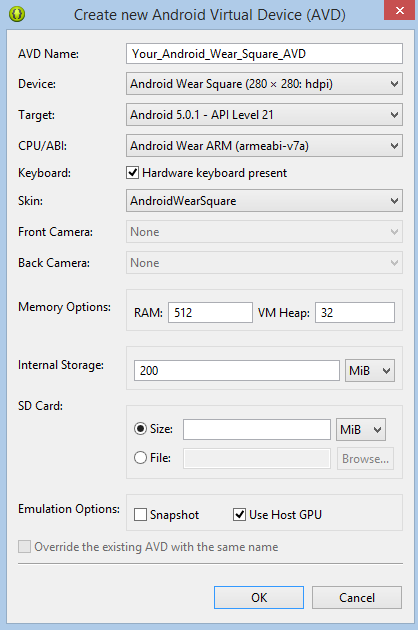
When you create the AVD, you must choose a CPU / ABI, a skin type and don’t forget to enable “Use Host GPU” option.
3. Start Android Wear AVD
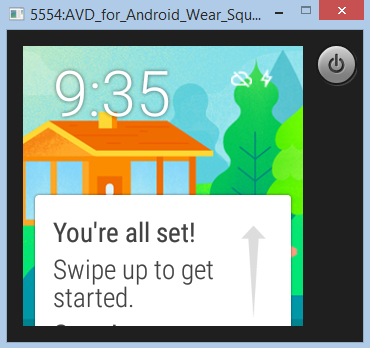
Now, go on Android device definitions tab and start your virtual device. You must see the following emulator started :
4. Your first Android Wear Hello World
To create your first Android Wear project, we’re going to use Android Studio recently presented in this blog here : http://www.ssaurel.com/blog/first-steps-with-android-studio-ide/ .
Once your Android Studio IDE is launched, go on File > New Project and start to creating your new project :
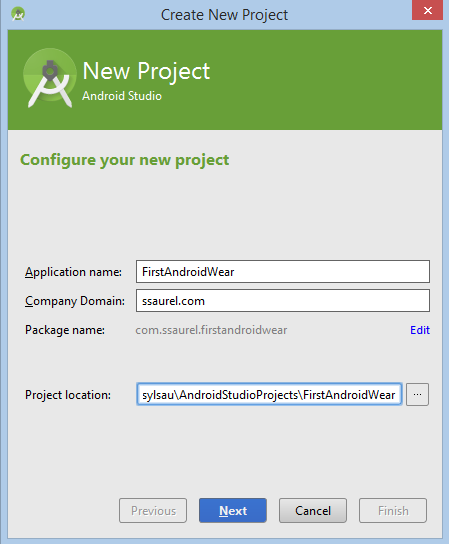
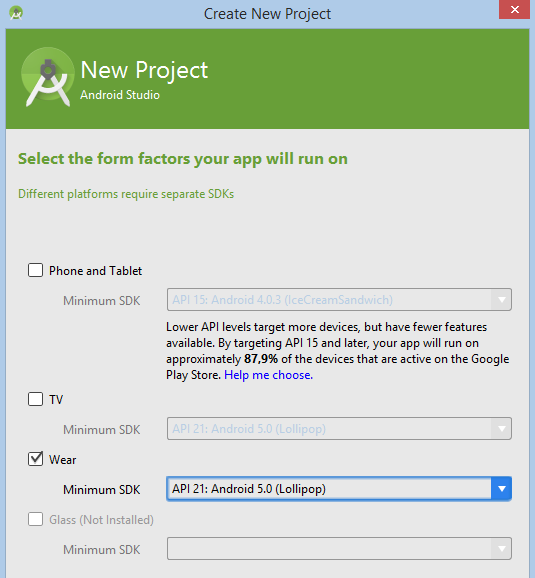
Then, you must choose Android Wear type for the application and minimun SDK version.
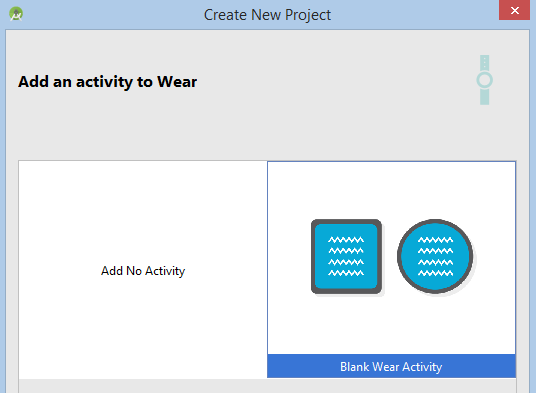
Choose to create a Blank Android Wear activity :
After you define activity name, layout name and also 2 specifics names for each type of layout : round and square.
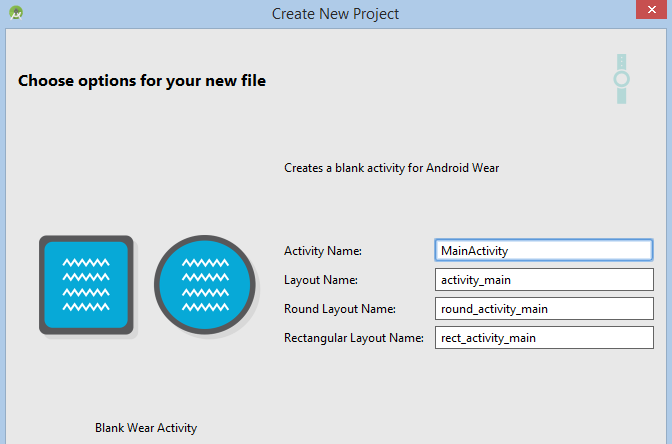
To end creation process, simply click on Finish button.
4. Launch your Android Wear Hello World
Now, you see your project in Android Studio IDE and you see the project hierarchy. You note also there is a specific layout for square type and an other for round type.
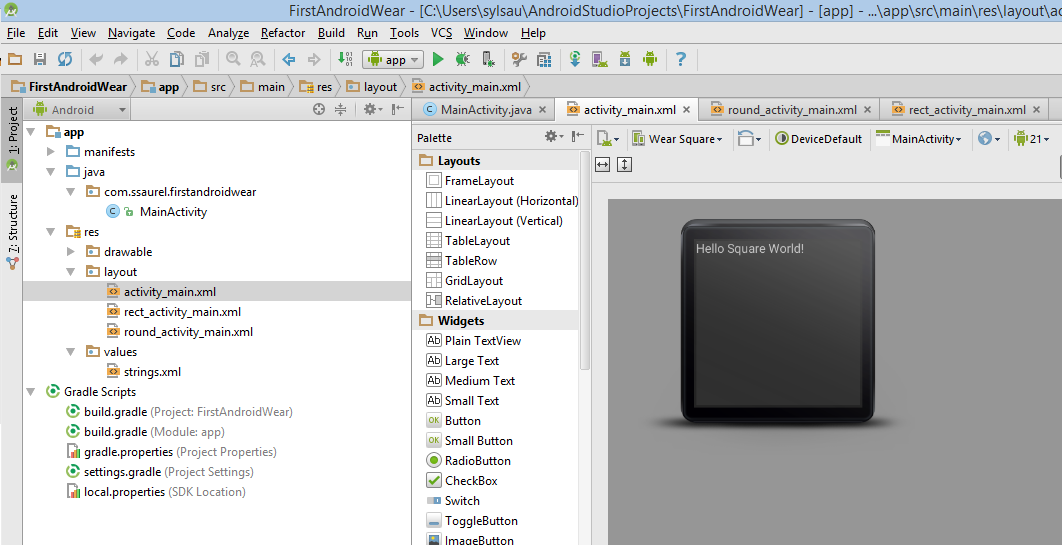
You can read the activity_main.xml layout to see the declaration of specific Android Wear View : WatchViewStub .
<?xml version="1.0" encoding="utf-8"?>
<android.support.wearable.view.WatchViewStub
 xmlns:android="http://schemas.android.com/apk/res/android"
 xmlns:app="http://schemas.android.com/apk/res-auto"
 xmlns:tools="http://schemas.android.com/tools" android:id="@+id/watch_view_stub"
 android:layout_width="match_parent" android:layout_height="match_parent"
 app:rectLayout="@layout/rect_activity_main" app:roundLayout="@layout/round_activity_main"
 tools:context=".MainActivity"
 tools:deviceIds="wear">
</android.support.wearable.view.WatchViewStub>
For that view class, you define 2 layouts thanks to app:roundLayout and app:rectLayout.
In practice, WatchViewStub is the class which will decide which layout to inflate, depending on the shape of the wearable’s screen. This is one of the specific UI widget provided by the Android Wear SDK.
WatchViewStub lets developers to be aware about the Swart Watch shape at runtime. To make that, you must register a OnApplyWindowInsetsListener and use it like this :
stub.setOnApplyWindowInsetsListener(new View.OnApplyWindowInsetsListener() {
  @Override
  public WindowInsets onApplyWindowInsets(View v, WindowInsets insets) {

    if(insets.isRound()) {
      // Device is round ==> Manage it !
    }

    return null;
  }
});
This can be interesting when you develop Android Wear applications to know this information.
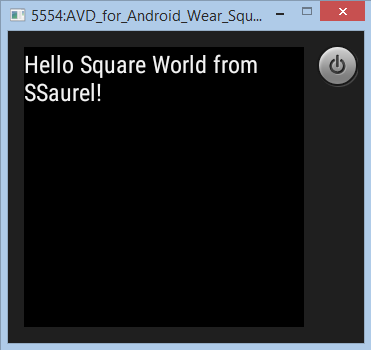
Now, you can start your first Android Wear application by clicking the run app button :


Leave a Reply
You must be logged in to post a comment.