Learn How to Create the Classic Snake Game With the Canvas API and the HTML5/JavaScript Duo
If you’ve never played the famous Snake game, raise your hand!
I say that, but I suppose that nowadays, the new generation may never have heard of this game, which may seem a bit old-fashioned given the possibilities offered by today’s computers and the Web.
And yet, there was a time when the Snake game was a game that all cell phone owners spent an inordinate amount of time playing. Yes, back then, we weren’t talking about smartphones, just telephones.
It was a good time, as the saying goes, and Nokia popularized the game through its mobile devices, which were also a benchmark. Today, not much remains of Nokia’s domination of the mobile world and the Snake game.
For those who are nostalgic for this game – and I’m one of them, I must admit – this tutorial will teach you how to recreate it for the Web. To do so, I’ll be using HTML5’s Canvas API and JavaScript.
It’s also an opportunity to learn how to use classes in Javascript and to create an effective game loop for Web games.
Creating the Web page for our Snake game
To begin with, we’re going to create the Web page that will enable us to play the Snake game we’ll be developing in this tutorial. You’ll soon see that this Web page presents no difficulties whatsoever. Two divs, one for the page title and another to display the area where the snake will move.
To this, I’ll add a little CSS to center these divs by applying a fixed width to them:
Design of the Snake class
As I explained in the introduction to this tutorial, I’m going to use a dedicated Snake class to model the game. This will also allow you to discover how to manipulate classes in JavaScript.
Our Snake will have the following properties:
- bw and bh to represent board size in width and height respectively.
- nbx and nby represent the number of cells available for the board.
- eltw and elth to represent the size of a snake element in width and height.
- dirx and diry which represent the snake’s displacement vector.
- marginx and marginy add a small margin to the width and height of snake elements so that the player can see the demarcation between each snake element.
- keyup, keydown, keyleft, keyright which store the state of the moving arrows at a given moment.
- startftps stores the number of frames per second required to move the snake at the start of the game.
At the end of the constructor, an init method is called to initialize the snake at the start of the game. When a new game is to be started, simply call this init method again.
This gives us the following code for our Snake class:
In the init method, you can define other snake properties, such as a pointer to its head and a pointer to tail. The elements array will store all the snake’s elements at a given moment. The points property is used to store points for the current game, while the level property is used to define how many points are accumulated to increase the game’s fps. The higher the number of fps, the faster the snake will move.
Since the fps property represents the number of frames per second, we need to have a fpsinterval property valued at the result of dividing 1 second (or 1,000 milliseconds) by the desired number of fps.
The principle of the Snake game
The principle of the Snake game is simple: you have to guide the snake using the 4 directional arrows so that it eats the maximum number of apples that appear on the board. Each time you eat an apple, the snake grows by one element. As the snake grows, you’ll find it difficult to avoid touching its own tail. If you don’t, you’ll lose and the score will start again from zero. Of course, every time you eat an apple, you score a point.
It’s worth pointing out that the version of Snake we’re going to implement is the one where touching the edges of the board doesn’t make you lose. It just makes you tip over to the opposite side. The second versions of the Snake game were implemented in this way by Nokia.
Since the snake has to eat an apple, we need to display this apple on the board in a random fashion, taking care not to generate an apple directly on an element of the snake.
This gives us the following generatefood method for our Snake class:
Snake on-screen rendering
Our Snake class is progressing, and we now need to create a method for rendering the snake on the screen. We’ll also need to display the player’s number of points at a given time, and finally, display the apple to be eaten. The apple’s position is stored in the Snake class’s food property.
To render the Snake on the screen, I’m using HTML5’s Canvas API.
I’ll use this API’s drawing primitives to draw rectangles representing the various elements of the snake, as well as the apple to be eaten. I’ll apply a different color to the apple and the snake so that the player can distinguish between them.
This gives the following code for the draw method of our Snake class:
Moving the Snake
We now have a snake that we can display on screen. This is all very well, but we need to add support for the snake’s movement. As explained above, the snake moves along the coordinate vector (dirx, diry). So, each time we call the move method I’m going to define here, the snake will move by the same amount.
In this move method, we check that the coordinates of the snake’s head correspond to those of the apple to be eaten. If so, the snake has just eaten the apple. The player scores a point, but more importantly, we need to take four actions:
- Add an element to the snake’s elements. This element becomes the new tail.
- Generate a new apple by calling generatefood.
- Add a point to the player.
- If the player passes a level, then we update the number of frames per seconds to be displayed to speed up the Snake’s movement.
Still, in the move method, we need to check that the player hasn’t made the mistake of touching an element of the snake with the head. If this is the case, the game is lost, and we start afresh! To do this, we call the init method of the Snake class presented above.
Now we need to complete the move method by actually moving the snake. To do this, we add dirx and diry to the snake’s head coordinates. This gives us a new head to add. You’ll also notice that moving the snake is done intelligently by removing the tail each time and adding a new head. This avoids having to update the position of all the snake’s elements.
Finish by remembering to update the new head. Incidentally, you’ll also have noticed that when the snake’s head crosses a board boundary, we make it move to the opposite side of the board. This applies to both width and length.
This gives us the following code for the move method:
The GameLoop of our Snake Game
Our Snake can be displayed on screen. Our Snake can be moved by calling its move method. What are we missing?
We’re missing the implementation of our game’s GameLoop!
Without this GameLoop, which will call the move and draw methods at regular intervals, the Snake won’t be able to move. In what follows, we’ll show you how to implement a GameLoop the right way in JavaScript, leaving it up to the browser to call it when it sees fit, so as not to block the rendering thread of the game’s web page.
To do this, we’ll use the requestAnimationFrame method of the standard JavaScript object window. The browser will then adapt the maximum fps it can support to the computer or smartphone on which the web page will be used.
Within our gameloop method, we’ll then decorrelate the number of fps supported by the browser from the number of fps we want to move our snake. We’ll only call the move and draw methods when we’re within the fps range defined earlier.
It’s important to update the coordinates of the snake’s movement vector according to the state of the 4 directional keys up, down, left, and right.
Finally, we call the GameLoop, delegating to the browser the task of choosing the best moment to do so. This gives us the following code for the GameLoop:
Handling user interaction with the Snake
To enable the Snake to be moved according to the directional keys pressed by the player, we use the keydown and keyup events. For each of these events, we’ll call a method of the Snake class. Logically, this will be pressdown for the keydown event and pressup for the keyup event.
We update the value of the linked Snake class properties according to what the player does with these keys. As you can see, we don’t block the game by updating the snake’s position directly. Instead, we update the state in the gameloop method, which is called at regular intervals.
Assembling the various Snake components
To complete this Snake game, we need to assemble the various elements. We retrieve the Canvas object via its id. Then, we obtain the 2D context linked to this Canvas. Apply the desired dimensions. We create a Snake object, passing the various expected values as parameters, including the number of cells on the board.
Add the event listeners for the keydown and keyup events.
Finally, all that’s left to do is call our Snake’s gameloop once to start the game. This gives us the following complete code for the famous Snake game made with the Canvas API and the infernal HTML5/JavaScript Web couple:
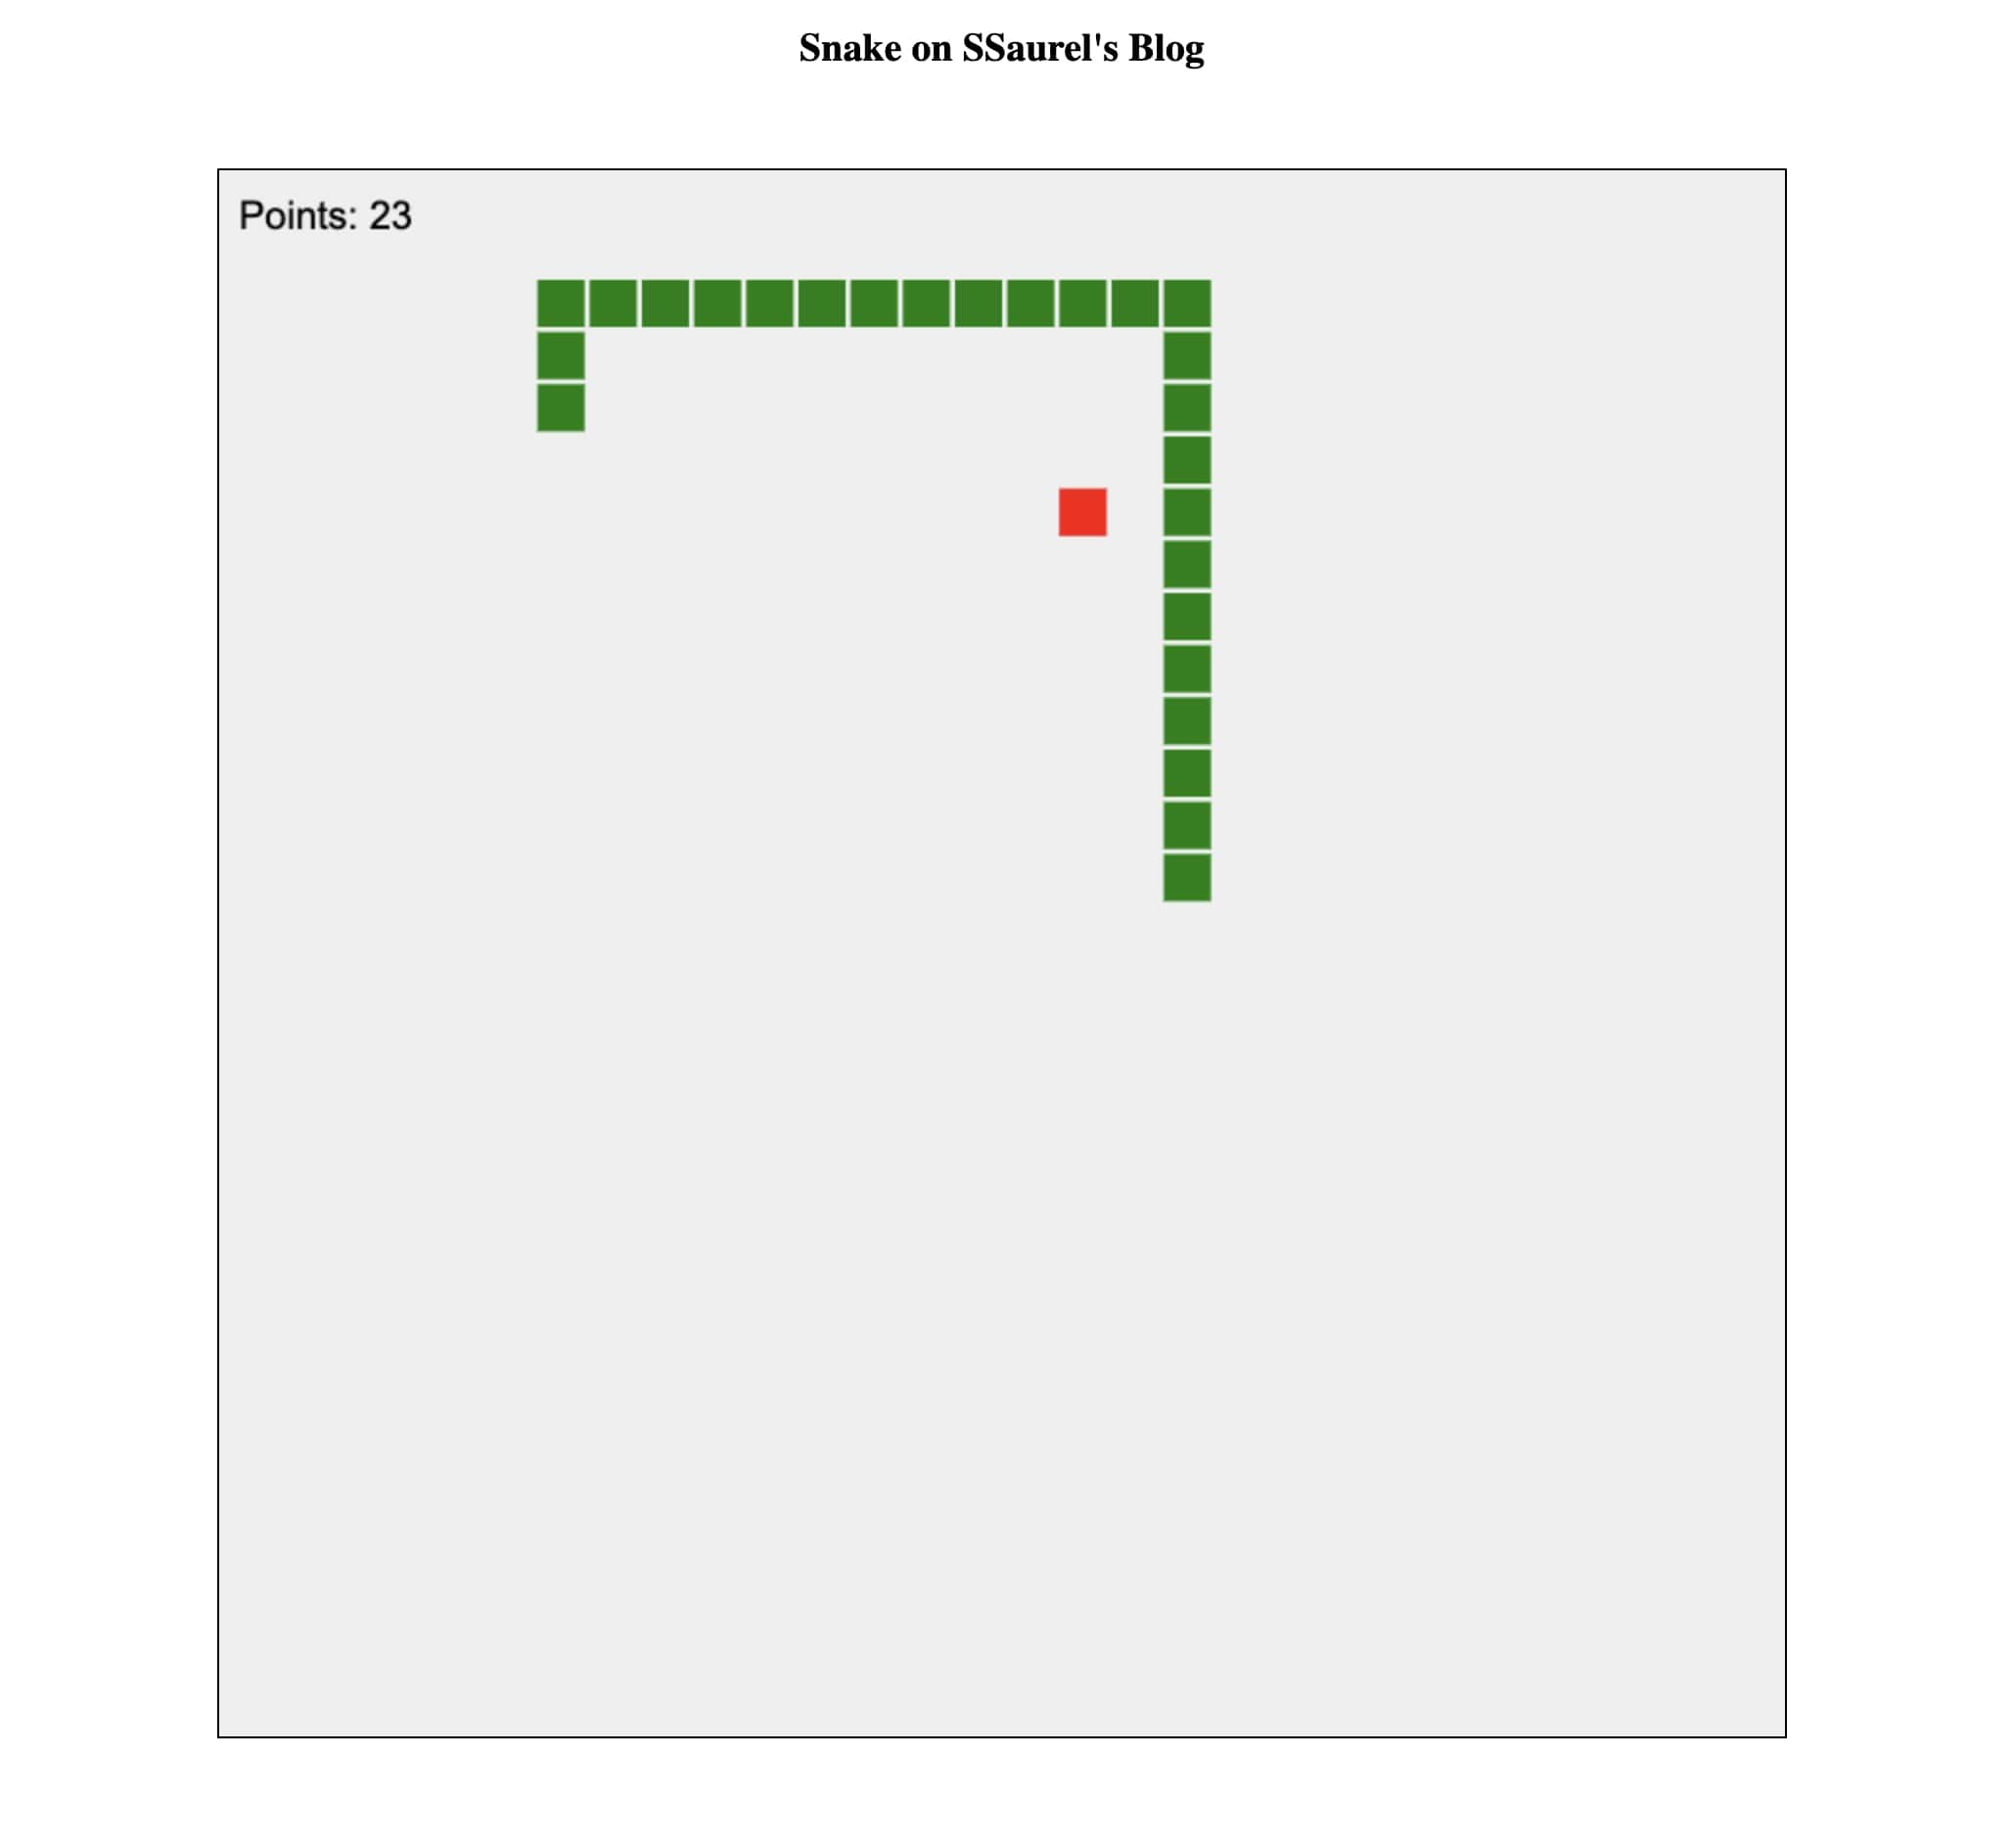
Our Snake Game in Action
Our Snake complete, it’s time to test it in a Web browser to see if the Snake magic works again, as it did when Nokia outrageously dominated the mobile world:
From this Snake game, you can imagine several possible enhancements. For example, you could add a sound each time the snake eats the apple. You could use HTML5’s Web Storage API to store a player’s local high score. This way, when a player beats his high score, you can display a congratulatory message. The possibilities are endless and your only limit, as ever in programming, is your imagination.
Watch this tutorial on YouTube
This tutorial can also be watched on YouTube on the SSaurel channel:


Leave a Reply
You must be logged in to post a comment.