Develop a Roulette Game for Android
Roulette is a casino game with a wheel having numbers from 0 to 36. You must note that the American style roulette has a double zero. So, it has 38 sectors on the wheel. But, in that tutorial, we are going to create a French / European style Roulette Game.

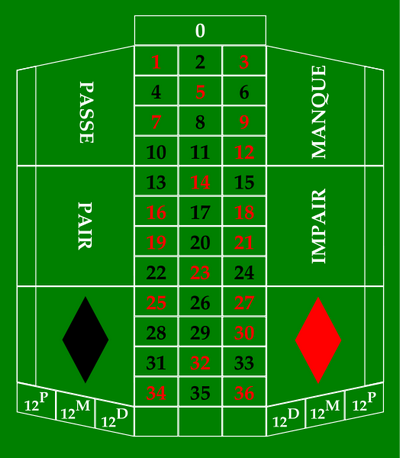
In the Roulette Game, players may choose to place bets on either a single number, various groupings of numbers, red or black colors, whether the number is odd or even, or if the numbers are high (between 19 and 36) or low (between 1 and 18).
Then, a croupier spins the wheel in one direction and a little ball in the opposite direction. When the wheel stops, we look at the position of the ball on the sectors of the wheel.
After that, the croupier pay players if they won their bets according some rules we will see in the second part of this tutorial when we will implement the bets on our Roulette Game.
In this part of the tutorial, you are going to learn how to display the wheel and how to spin it by using the Android Animation API available in the standard SDK.
You can also watch this part of the tutorial on YouTube :
Adding some depedencies
To make easier our development by reducing the boilerplate code, we are going to use the Butter Knife library. So, you need to add the following dependencies in the buid.gradle file of your Android Application Project :
implementation ‘com.jakewharton:butterknife:8.8.1’
annotationProcessor ‘com.jakewharton:butterknife-compiler:8.8.1’
So, the build.gradle file of our Roulette Game will have the following form :
Making the User Interface of the Roulette Game
Next step is to make the User Interface of the Roulette Game. Our UI will have the following views :
- A TextView to display the result of the wheel’s spin
- A Button to spin the wheel
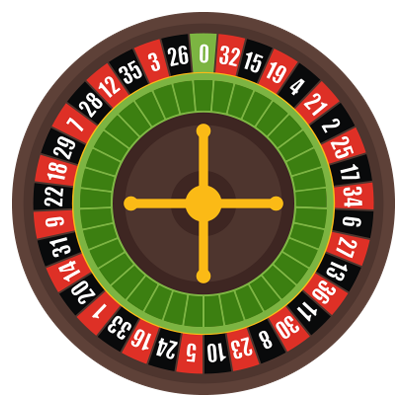
- An ImageView to display the wheel which will be represented by the following PNG Image :
- An ImageView to display a triangle pointing to the sector of the wheel where the ball has stopped. So, we won’t use a real ball spinning on the wheel here. This is the triangle image :

It gives us the following code for our User Interface :
Like you can see, it is quite simple. A RelativeLayout with the Button at the bottom, the TextView on top and the wheel centered on the screen. Furthermore, the triangle image is placed just above the wheel with a-10dp marginBottom to be placed just on the wheel’s sectors.
Writing the Java code of the Main Activity
Now, it’s time to write the Java code of the Main Activity. First, we bind the views from the XML layout file to the fields of our MainActivity thanks to the Butter Knife API and its @BindView annotation :
Then, we need to create a String array to have a textual representation of label associated to each sector of our wheel. Finally, we define a static variable to represent the half angle of a sector. For that, we divide 360 degrees by the number of sectors (37) and then again by two.
It gives us the following code at this point :
Now, we need to find a way to spin our wheel. For that, we are going to use the Android Animation API. Simple, efficient and available in the SDK in standard.
To spin our wheel, we will use a RotateAnimation. The rotation will be from degreeOld to degree based on the center of the wheel. You have noted that we use degreeOld and degree integer fields.
The degreeOld field will store the previous position of the wheel in degrees compared to its initial position. The degree field will be used to determine the next position of the wheel after the rotation. To calculate this position, we use a random integer between 0 and 360. And then, we add 720 degrees to be sure the wheel will make two rotations at least before stopping.
Finally, we define the duration of the animation and we set a DecelerateInterpolator to make a smooth effect. The code is placed inside a spin method annotated with @OnClick annotation of the Butter Knife API to set this method as the OnClick callback for our Spin Button :
When the animation starts, we empty the result TextView. At the end of the animation, we display the correct sector pointed by the triangle on the wheel.
For that, we create a getSector method with a dedicated Algorithm. We iterate to move from the first sector angle to the last sector angle. It the position in degrees of the wheel passed in parameter of the getSector method in a sector, we get the associated text by accessing to the sectors array.
It gives us the following code for the getSector method :
It gives us the following complete source code for the MainActivity :
Playing our Roulette Game
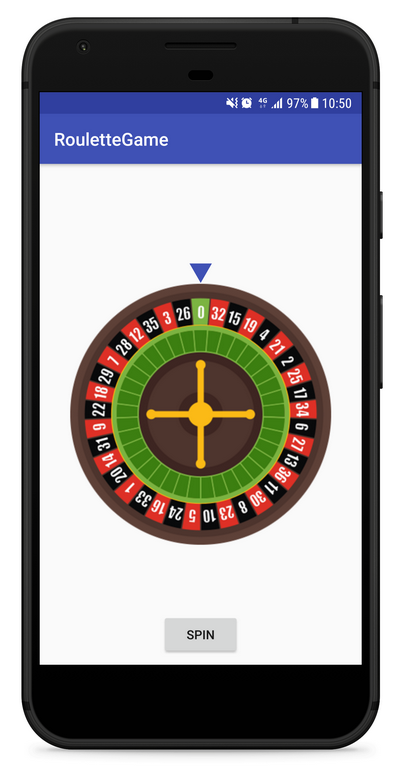
Best part of the tutorial is coming. Now, we can play our Roulette Game and spinning the wheel. Once the application is launched, you will have the following starting screen :
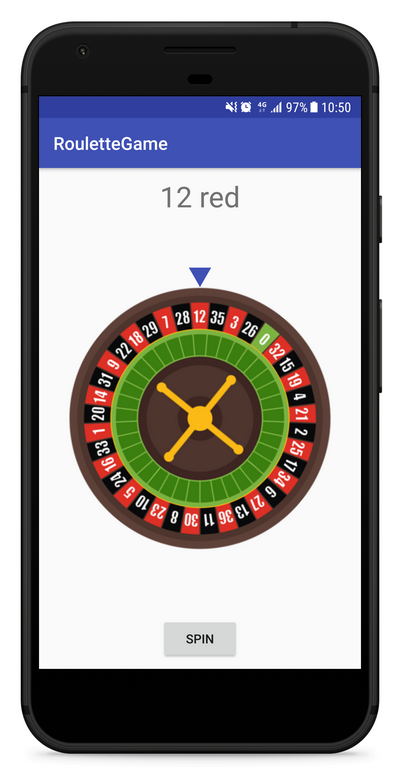
Click on the spin button, and the wheel will spin. When the wheel stops, you will have the following screen with the result :
That’s all for the first part of our Roulette Game tutorial for Android.
To go further
In the second part of this tutorial, we will create the bets table and we will let the users to put bets before spinning the wheel. So, stay tuned !
Waiting that, you can subscribe to the SSaurel’s Channel on YouTube to discover more tutorials on Android development :


Leave a Reply
You must be logged in to post a comment.