Backup and Restore data from the Cloud thanks to Android Backup API
When Android’s user installs your app on a particular device and start to use it, you can store some data letting him to use easily the application. You can also store high score or other data for a game.
If user must make a restore of his system or if user changes his device, it’s great to let him to start to the same point when he launches your app on these new conditions.
To achieve that, Google offers your Android Data Backup API. This feature is relatively unknown of the developers where are it’s very powerful.
1/ Register to Android Backup service
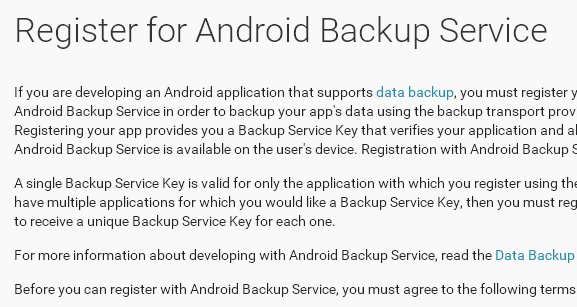
First step is to register for Android Backup Service here : https://developer.android.com/google/backup/signup.html

Enter the package id of your application and register. Then, Google will give you of key nested in an XML tag like this :
<meta-data android:name="com.google.android.backup.api_key"
   android:value="ABcDe1FGHij2KlmN3oPQRs4TUvW5xYZ" />
2/ Configure your Android Manifest
With your key to use Android Backup Service, you must know insert it in your Android Manifest under application tag. You must also define the backup agent that will automatically called to process backup and restore operations. Your Android Manifest should be like this :
<application android:label="MyWonderfulApp"
   android:backupAgent="MyBackupAgent">
   ...
   <meta-data android:name="com.google.android.backup.api_key"
      android:value="ABcDe1FGHij2KlmN3oPQRs4TUvW5xYZ" />
   ...
</application>
3/ Write your Backup Agent
For saving and restoring your data, you must extend the BackupAgent class that lets you to control entirely the process. However, an easiest way to achieve that is to create your backup agent by extending the wrapper class BackupAgentHelper.
In your child class, you must just override onCreate() method and define inside data to backup and restore. BackupAgentHelper makes process easier for file backup / restore and also for preferences backup / restore.
For example, you can choose to store “high_score ” and “user_pref_ads” preferences properties. We must use SharedPreferencesBackupHelper and pass in parameter all the preferences properties keys to backup / restore. Then, the method addHelper is called with a filename to store these preferences.
Code is like this :
import android.app.backup.BackupAgentHelper;
import android.app.backup.SharedPreferencesBackupHelper;

public class MyBackupAgent extends BackupAgentHelper {
   public static final String MY_PREFS_BACKUP_KEY = "my_wonderful_app_prefs";
   public static final String PREFS_USER_ADS = "user_pref_ads";
   public static final String PREFS_HIGH_SCORES = "high_score";

   void onCreate() {
      SharedPreferencesBackupHelper helper =
         new SharedPreferencesBackupHelper(this, PREFS_DISPLAY, PREFS_SCORES);
      addHelper(MY_PREFS_BACKUP_KEY, helper);
   }
}
4/ Request / Restore Backup
Requesting a backup is your job. To make that, you must create an instance of the BackupManager and call it’s dataChanged() method :
import android.app.backup.BackupManager;
...

public void requestBackup() {
   BackupManager bm = new BackupManager(this);
   bm.dataChanged();
}
Restore a backup is made automatically when your application is installed on a device. However, if you need to make an explicit restore, you can call manually the requestRestore() method of the BackupManager instance crated.
5/ Test Backup services
You can test implemented backup manager on a device by using adb shell commands. Thus, you can schedule a backup :
adb shell bmgr backup com.ssaurel.wonderfulapp
You can ensure scheduled backup run :
adb shell bmgr run
And you can restore your backup by calling bmgr restore feaure :
adb shell bmgr restore com.ssaurel.wonderfulapp


Leave a Reply
You must be logged in to post a comment.