Recreate Conway’s Game of Life on Android
The Game of Life is a famous cellular automaton created by the British John Horton Conway in 1970. The Game of Life is considered a zero-player game because the evolution is determined by its initial state, requiring no further input. A player interacts with the Game of Life by creating an initial configuration. Then, you have just to observe the evolution of the cells. In this tutorial, you are going to learn how to create a Game of Life implementation on Android with Android Studio.
As an extra bonus, you can discover this tutorial in a video on YouTube if you prefer :
Representing a Cell
To start, we are going to design a Cell class to represent a cell in the Game of Life. A Cell will have coordinates representing its position on the board of the game. Besides, a Cell will have an alive property indicating if the cell is alive or dead. We add also a die, a reborn, and an invert method to the Cell class.
Representing the World
The next step is to represent the World of the Game of Life. A World will have dimensions (width and height) and also a 2D array of Cell objects. The World will be initialized randomly at the beginning thanks to an init method.
Conway’s Game of Life is based on 4 rules:
- Any live cell with fewer than two live neighbors dies, as if caused by underpopulation.
- Any live cell with two or three live neighbors lives on to the next generation.
- Any live cell with more than three live neighbors dies, as if by overpopulation.
- Any dead cell with exactly three live neighbors becomes a live cell, as if by reproduction.
To apply these rules, we need a method to count the number of neighbors of a given cell. Note that each cell has 8 neighbors, which are the cells that are horizontally, vertically, or diagonally adjacent.
Then, we implement a nextGeneration method, which will be used to generate the next generation of cells for our World. In this method, for each cell, we count the number of neighbors, and then we decide if the current cell must be dead or alive at the next generation by applying the four rules presented above.
Creating a Custom Game of Life View
Now, it’s time to create a custom Game of Life View to graphically represent the cells of our World. Our custom View will extend the SurfaceView class and will implement the Runnable interface to let the World evolve.
As you can see, we have added the possibility for the user to interact with the World. When a user will click on a specific Cell, it will invert its state.
Creating the User Interface
With our GameOfLiveView created, we can use it to create the User Interface of our Game of Life implementation. As you can see, the UI is pretty simple:
Writing the Code of the Main Activity
The last step is to write the Java code of the Main Activity for our application. First, we get the reference of our GameOfLiveView in the onCreate method. Then, in the onResume method, we start the evolution of the World by calling the start method of the GameOfLifeView instance. Finally, we don’t forget to stop the evolution of the World by calling the stop method of the GameOfLifeView object in the onPause method.
It gives us the following code:
Testing our Conway’s Game of Life Implementation
Now it’s time to test our Conway’s Game of Life implementation. You can see a screenshot of the World in evolution below:
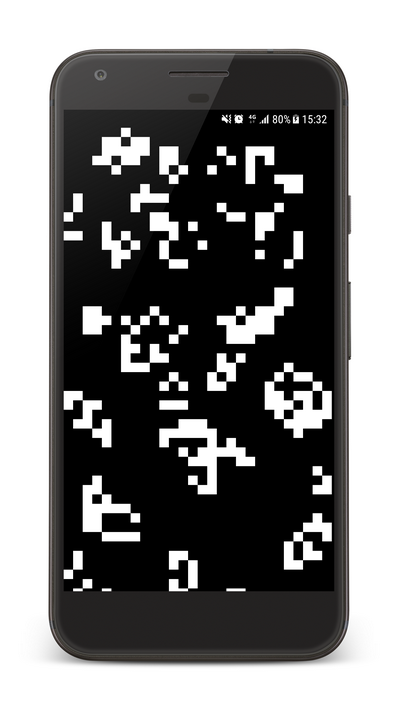
To add more beauty to our application, we have also chosen to set the top window bar background in black. The final result looks great. To improve the implementation, you could let the users enter an initial configuration for the World rather than generating a random World at the beginning.


Leave a Reply
You must be logged in to post a comment.