Create a Torch Flashlight Application for Android
In that tutorial, you are going to learn how to create a Torch Flashlight application for Android with Android Studio. A lot of tutorials exist to teach you to use the flashlight of your device via the Camera API but this API is now deprecated since Android API level 25.
So, to be up to date we are going to use the Camera2 API in this tutorial. Note that you can discover this tutorial in video on YouTube :
Creating the User Interface
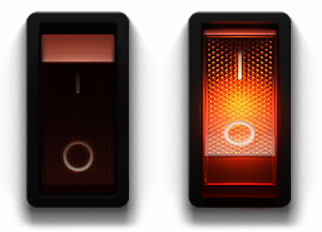
To start, we are going to create the user interface of our Torch Flashlight Application for Android. We will have one image view to display an ON / OFF switcher image. Then, a button to enable the camera permissions to use the flashlight on the Android device.
Updating the Android Manifest
Then, we are going to add the CAMERA permission in the android manifest and we also define the fact that we use the camera in our application :
Updating the Gradle Build File
To use the Camera2 API with no warnings on Android Studio, we are going to set the minimum Android SDK version to 23 in the Gradle Build File :
Writing the Java Code
Now, it’s time to write the Java code of the Main Activity. First, we declare a constant for the CAMERA_REQUEST request index used to request camera permissions. Then, we declare properties for the enable button and for the image view. We define a flashlight status Boolean which will indicate us if the flashlight is on or off.
In the onCreate method, we get references for the ImageView and for the button. We check if the device has a camera. We check also if the camera permission has already been granted by the user for the application. We manage the state of the button and the imageview according the camera permission authorization. We install an OnClickListener on the enable button. When the user will click on this button we will request permission for the Camera permission with the Camera Request id in parameter.
We set an OnClickListener on the ImageView. When a user will click on the image view, first we check if the device has camera flash. If no, we display a message to alert the user. Otherwise, we turn off the light if needed by calling the flashLightOff method. And we turn on the light if needed by calling the flashLightOn method.
Now, we write the flashLightOn method. We get the camera service. Usually, the front camera is at the first position. With the camera manager we call the set torch mode method with cameraId in parameter to enable it. We set the flashlight status to true and we change the image in the image view.
In the flashLightOff method we make the opposite operations. We get the camera service. Usually, the front camera is at the first position. With the camera manager we call the set torch mode method with cameraId in parameter to enable it. We set the flashlight status to false and we change the image in the ImageView.
Finally, we override the onRequestPermissionsResult method. We check if the user has granted the camera permission. If yes, we disable the enable button and we change the text of the button to display a camera enabled message. Then, we enable the ImageView to let the user light up the Flashlight of their device :
This gives us the following code for the MainActivity :
Testing our Torch Flashlight Application
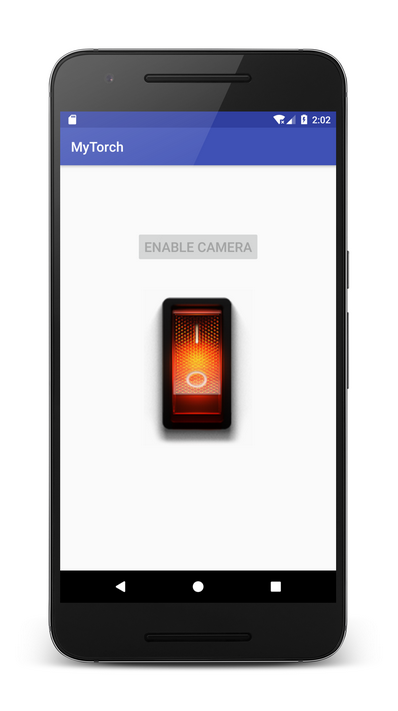
Now, it’s time to test our Torch Flashlight Application. You should obtain the following result :
That’s all for that tutorial. To discover more tutorials on Android Development, don’t hesitate to subscribe to the SSaurel’s Channel on YouTube :
7 Comments Already
Leave a Reply
You must be logged in to post a comment.


i changed photo to button and it don’t work i give permission and then click another button to enable camera and i get main screen ( with icons)
http://wklej.org/id/3306900/ there’s code
What is your problem ?