Learn to persist data on Android with SQLite
On Android, there are several solutions to persist data between users’ sessions. One solution is to use a relational database to persist data and then to be able to query easily these data. In standard, Android SDK comes with a SQLite implementation. Note that the following tutorial is also available in video on Youtube :
Biggest advantage of SQLite integration to Android OS is the fact that there is no need to to setup the database. So, no administration of this database. SQLite is embedded in standard and each application can have its SQLite database.
The only job that developers must make is to define SQL tables and statements for creating and updating data. Access to an SQLite database involves accessing the file system. So, it can be a slow operation. To avoid ANR (Application Not Responding) errors, it’s recommended to perform database operations asynchronously.
When an application creates and uses a SQLite database, it will be saved by default in the directory : DATA/data/APP_PACKAGE/databases/FILENAME .
1. Architecture
All classes needed to manage databases in Android SDK are contained in the package android.database . The package android.database.sqlite contains the SQLite specific classes.
SQLite API is centered around 2 main classes :
- SQLiteOpenHelper that is an helper class to extend to manage database operations.
- SQLiteDatabase that is the base class for working with a SQLite database in Android.
2. SQLiteOpenHelper
When you want to work with a SQLite database in Android, you must extend SQLiteOpenHelper class. In the constructor of your subclass you call the super() method of SQLiteOpenHelper, specifying the database name and the current database version.
You need also to override the following methods :
- onCreate() that is called when database is accessed but not yet created.
- onUpgrade() called when you choose to increment the version number of the database. In this method you can manage the migration process between two databases versions.
Both methods get and SQLiteDatabase instance in parameter which is the way to communicate with the database.
Furthermore, SQLiteOpenHelper provides 2 methods to get access to an SQLiteDatabase instance object respectively in read and in write modes :
- getReadableDatabase() for read mode.
- getWriteableDatabase() for write mode.
3. SQLiteDatabase
SQLiteDatabase is the class used to communicate with a SQLite database. It exposes several methods to interact with database like insert(), update() or delete().
In addition, it lets you to make queries via rawQuery() to queries made directly in SQL or via query() method. This last method provides a structured interface for specifying a SQL query.
4. Practice
Now, you know theory about SQLite in Android context. We can put in practice all the concepts. To achieve that, we’re going to make a database with a players table letting us to store NBA players.
To start, we create a simple Player Java POJO :
public class Player {

	private int id;
	private String name;
	private String position;
	private int height;

	public Player() {

	}

	public Player(int id, String name, String position, int height) {
		this.id = id;
		this.name = name;
		this.position = position;
		this.height = height;
	}

	public int getId() {
		return id;
	}

	public void setId(int id) {
		this.id = id;
	}

	public String getName() {
		return name;
	}

	public void setName(String name) {
		this.name = name;
	}

	public String getPosition() {
		return position;
	}

	public void setPosition(String position) {
		this.position = position;
	}

	public int getHeight() {
		return height;
	}

	public void setHeight(int height) {
		this.height = height;
	}

	@Override
	public String toString() {
		return name + " - " + position + " - " + height + " cm";
	}

}
Then, we must create the SQLiteOpenHelper extended class to manage our application database. Code is here :
package com.ssaurel.samples.sqlite;

import java.util.LinkedList;
import java.util.List;

import android.content.ContentValues;
import android.content.Context;
import android.database.Cursor;
import android.database.sqlite.SQLiteDatabase;
import android.database.sqlite.SQLiteOpenHelper;

public class SQLiteDatabaseHandler extends SQLiteOpenHelper {

	private static final int DATABASE_VERSION = 1;
	private static final String DATABASE_NAME = "PlayersDB";
	private static final String TABLE_NAME = "Players";
	private static final String KEY_ID = "id";
	private static final String KEY_NAME = "name";
	private static final String KEY_POSITION = "position";
	private static final String KEY_HEIGHT = "height";
	private static final String[] COLUMNS = { KEY_ID, KEY_NAME, KEY_POSITION,
			KEY_HEIGHT };

	public SQLiteDatabaseHandler(Context context) {
		super(context, DATABASE_NAME, null, DATABASE_VERSION);
	}

	@Override
	public void onCreate(SQLiteDatabase db) {

		String CREATION_TABLE = "CREATE TABLE Players ( "
				+ "id INTEGER PRIMARY KEY AUTOINCREMENT, " + "name TEXT, "
				+ "position TEXT, " + "height INTEGER )";

		db.execSQL(CREATION_TABLE);
	}

	@Override
	public void onUpgrade(SQLiteDatabase db, int oldVersion, int newVersion) {
		// you can implement here migration process
		db.execSQL("DROP TABLE IF EXISTS " + TABLE_NAME);
		this.onCreate(db);
	}

	public void deleteOne(Player player) {
		// Get reference to writable DB
		SQLiteDatabase db = this.getWritableDatabase();
		db.delete(TABLE_NAME, "id = ?",
				new String[] { String.valueOf(player.getId()) });
		db.close();

	}

	public Player getPlayer(int id) {
		SQLiteDatabase db = this.getReadableDatabase();
		Cursor cursor = db.query(TABLE_NAME, // a. table
				COLUMNS, // b. column names
				" id = ?", // c. selections
				new String[] { String.valueOf(id) }, // d. selections args
				null, // e. group by
				null, // f. having
				null, // g. order by
				null); // h. limit

		if (cursor != null)
			cursor.moveToFirst();

		Player player = new Player();
		player.setId(Integer.parseInt(cursor.getString(0)));
		player.setName(cursor.getString(1));
		player.setPosition(cursor.getString(2));
		player.setHeight(Integer.parseInt(cursor.getString(3)));

		return player;
	}

	public List<Player> allPlayers() {

		List<Player> players = new LinkedList<Player>();
		String query = "SELECT  * FROM " + TABLE_NAME;
		SQLiteDatabase db = this.getWritableDatabase();
		Cursor cursor = db.rawQuery(query, null);
		Player player = null;

		if (cursor.moveToFirst()) {
			do {
				player = new Player();
				player.setId(Integer.parseInt(cursor.getString(0)));
				player.setName(cursor.getString(1));
				player.setPosition(cursor.getString(2));
				player.setHeight(Integer.parseInt(cursor.getString(3)));
				players.add(player);
			} while (cursor.moveToNext());
		}

		return players;
	}

	public void addPlayer(Player player) {
		SQLiteDatabase db = this.getWritableDatabase();
		ContentValues values = new ContentValues();
		values.put(KEY_NAME, player.getName());
		values.put(KEY_POSITION, player.getPosition());
		values.put(KEY_HEIGHT, player.getHeight());
		// insert
		db.insert(TABLE_NAME,null, values);
		db.close();
	}

	public int updatePlayer(Player player) {
		SQLiteDatabase db = this.getWritableDatabase();
		ContentValues values = new ContentValues();
		values.put(KEY_NAME, player.getName());
		values.put(KEY_POSITION, player.getPosition());
		values.put(KEY_HEIGHT, player.getHeight());

		int i = db.update(TABLE_NAME, // table
				values, // column/value
				"id = ?", // selections
				new String[] { String.valueOf(player.getId()) });

		db.close();

		return i;
	}

}
Database is created in the constructor of the extended class. Players table is created in the onCreate() method thanks to a SQL statement.
In our class, we add methods to add a new player, to delete an existing one, to update and then a method to get all the players in the table. In this last method, we use a Cursor object to iterate on rows and then build equivalent Player instances.
To use our class to create some players then display on a simple ListView, we can use the following code :
public class MainActivity extends Activity {

	private SQLiteDatabaseHandler db;

	@Override
	protected void onCreate(Bundle savedInstanceState) {
		super.onCreate(savedInstanceState);
		setContentView(R.layout.activity_main);
		// create our sqlite helper class
		db = new SQLiteDatabaseHandler(this);
		// create some players
		Player player1 = new Player(1, "Lebron James", "F", 203);
		Player player2 = new Player(2, "Kevin Durant", "F", 208);
		Player player3 = new Player(3, "Rudy Gobert", "C", 214);
		// add them
		db.addPlayer(player1);
		db.addPlayer(player2);
		db.addPlayer(player3);
		// list all players
		List<Player> players = db.allPlayers();

		if (players != null) {
			String[] itemsNames = new String[players.size()];

			for (int i = 0; i < players.size(); i++) {
				itemsNames[i] = players.get(i).toString();
			}

			// display like string instances
			ListView list = (ListView) findViewById(R.id.list);
			list.setAdapter(new ArrayAdapter<String>(this,
					android.R.layout.simple_list_item_1, android.R.id.text1, itemsNames));

		}

	}
}
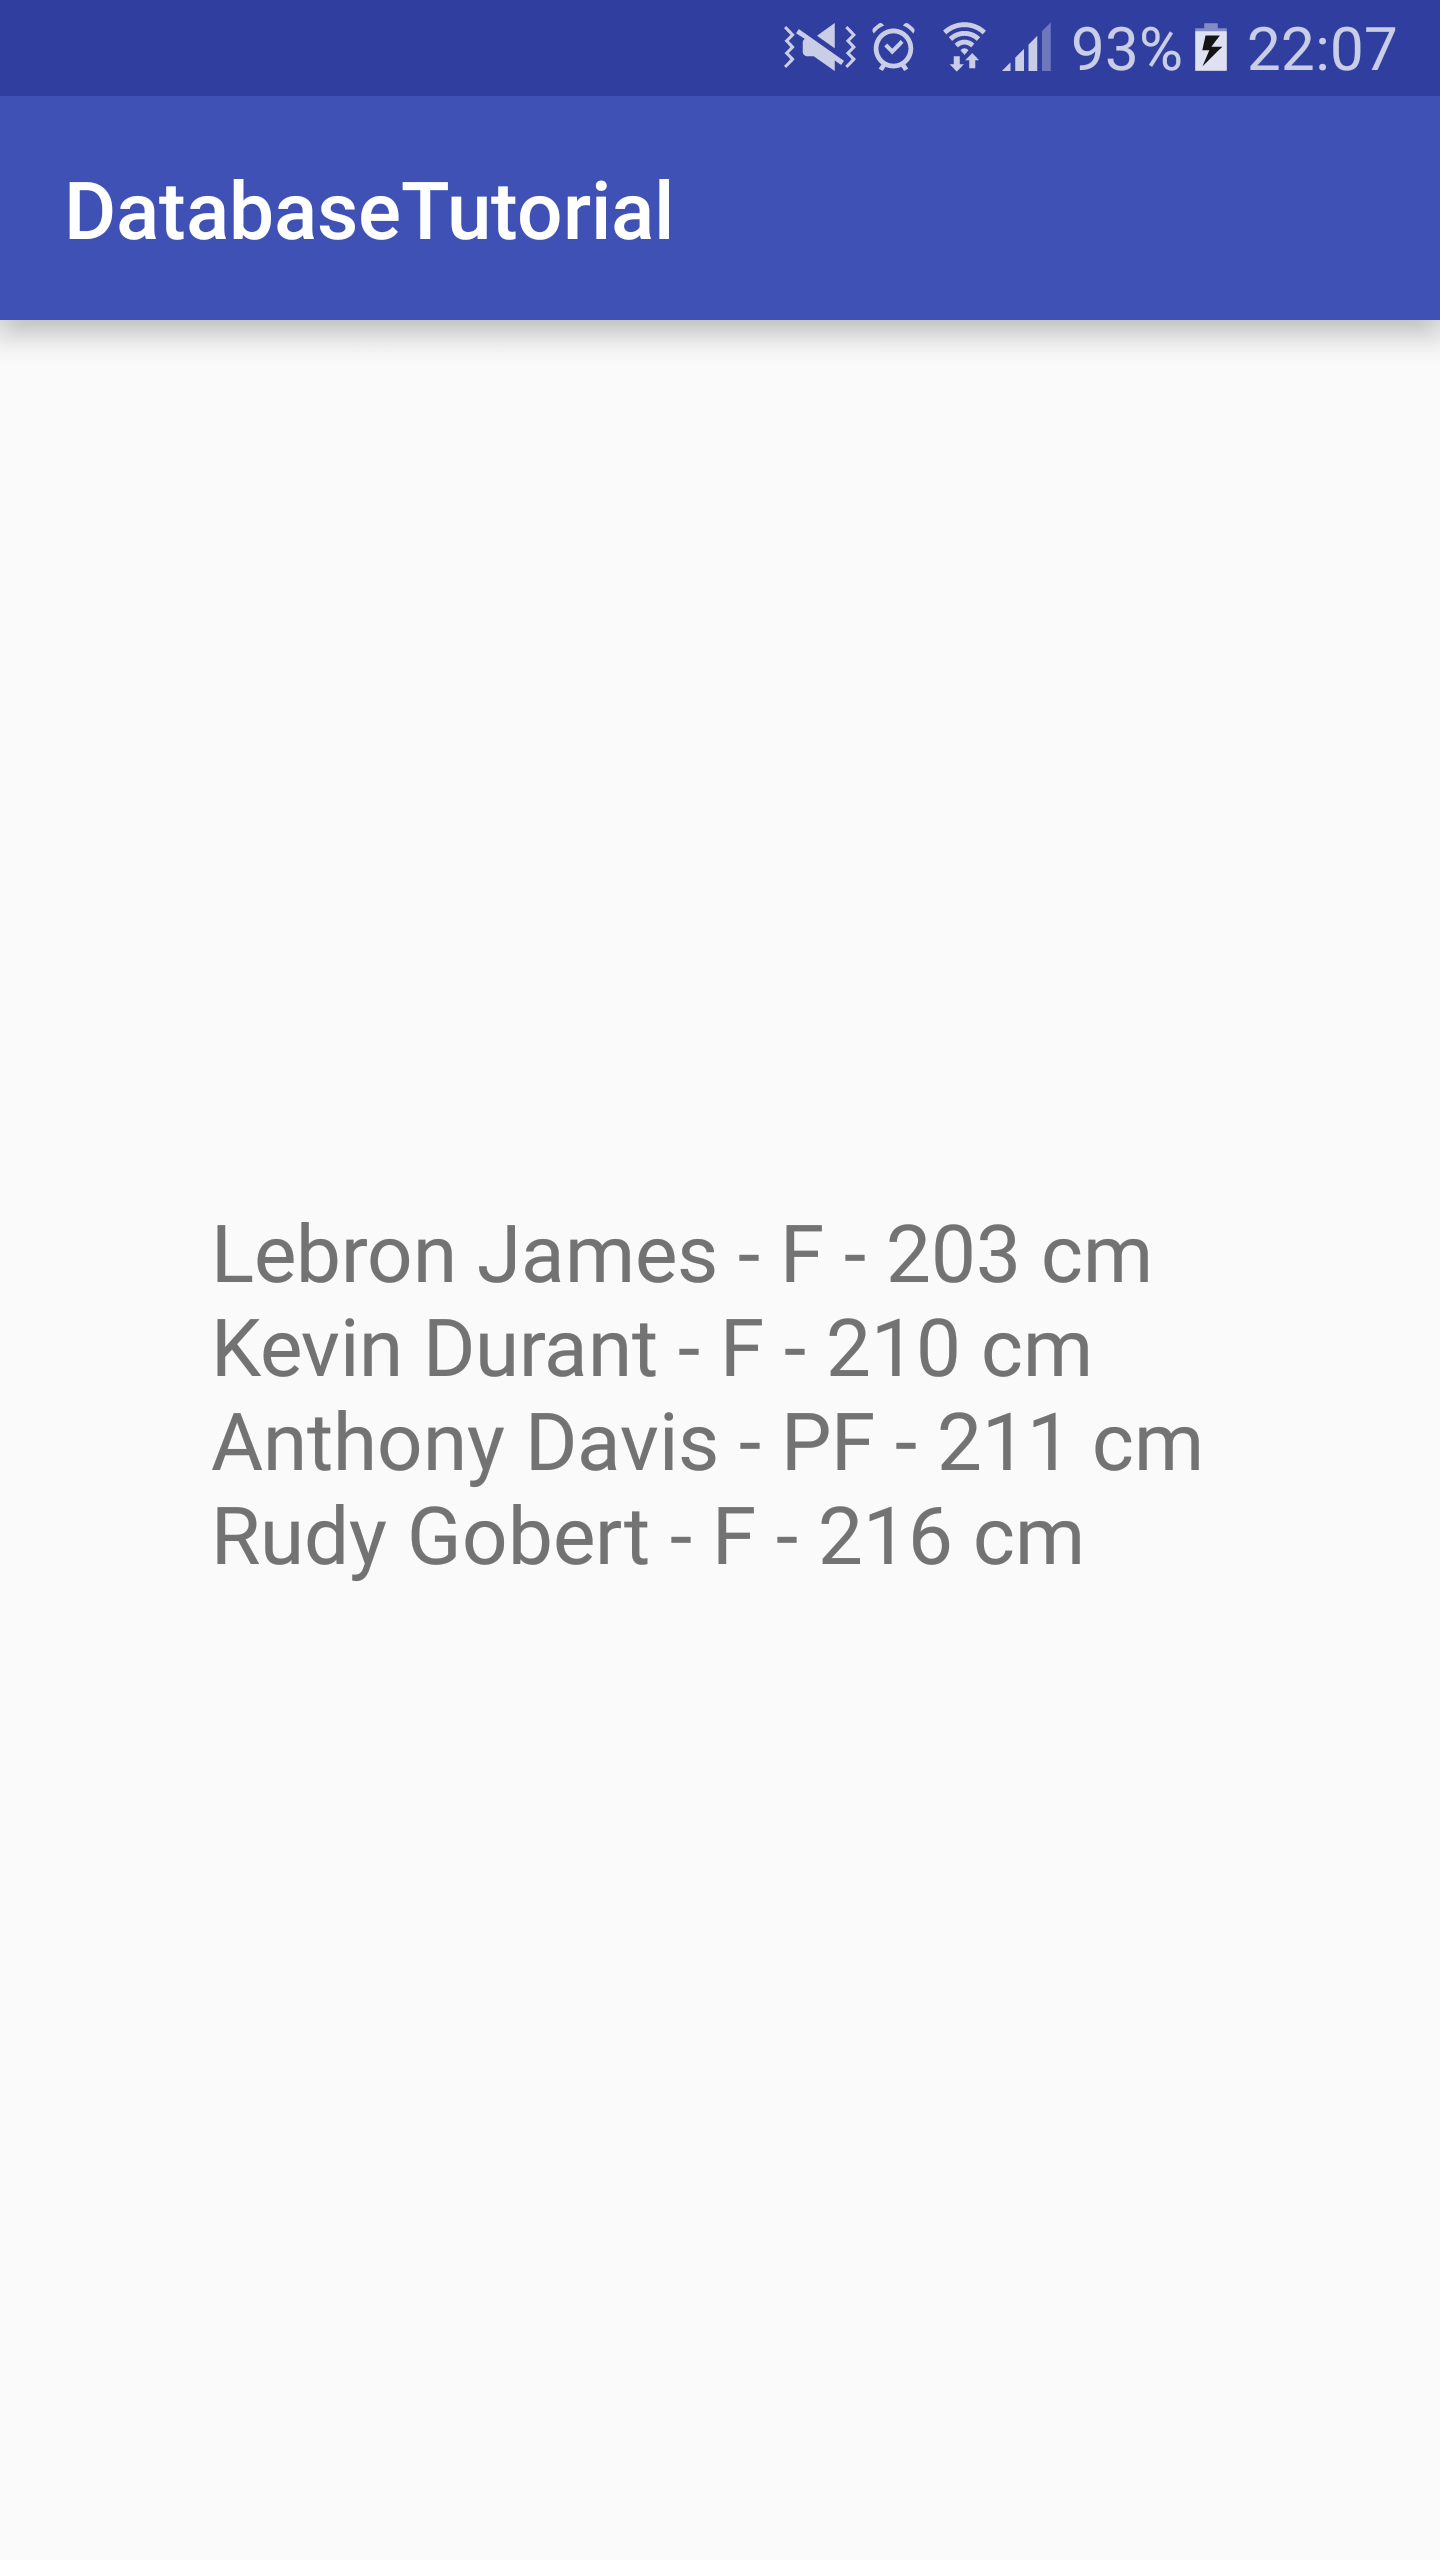
Execution result can be seen here :
SQLite implementation in Android is simple and really powerful. You can now use it in your Android application to persist data.


Leave a Reply
You must be logged in to post a comment.