Create a Blink Effect on Android
Like you must know, users always enjoy cool effects on interfaces. Adding some effects on your Android application can be a good way to make your application different from others. Previously, we have seen how to create a type writer effect and a blur effect. In this tutorial, you are going to learn how to create a blink effect on Android. It will be also a good way to discover how to use Animations.
Like usual, you can also enjoy this tutorial in video on Youtube :
First, we create a layout with a TextView that will receive the blink effect and a Button to start the blink effect :
<?xml version="1.0" encoding="utf-8"?>
<RelativeLayout xmlns:android="http://schemas.android.com/apk/res/android"
xmlns:tools="http://schemas.android.com/tools"
android:layout_width="match_parent"
android:layout_height="match_parent"
tools:context="com.ssaurel.blinkeffect.MainActivity">

 <TextView
  android:layout_width="wrap_content"
  android:layout_height="wrap_content"
  android:text=" Blink Effect with SSaurel "
  android:textSize="22sp"
  android:layout_centerInParent="true"
  android:id="@+id/txt"
 />

 <Button
  android:text="Blink Effect !"
  android:layout_width="wrap_content"
  android:layout_height="wrap_content"
  android:id="@+id/btn"
  android:layout_below="@id/txt"
  android:layout_marginTop="50dp"
  android:layout_centerHorizontal="true"/>

</RelativeLayout>
Now, it’s time to write the code for the blink effect in an Activity. To make a blink effect, we can use the ObjectAnimator object of Android SDK that lets us to animate a specific property of a View. Here, we need to animate the backgroundColor property of the TextView. In the ObjectAnimator, we can also define colors we want to apply to the background, duration of the animation, evaluator, repeat mode and repeat count. Here, we create an infinite animation. The code of the blink effect animation should be like that :
 ObjectAnimator anim = ObjectAnimator.ofInt(txt, "backgroundColor", Color.WHITE, Color.RED,
 Color.WHITE);
 anim.setDuration(1500);
 anim.setEvaluator(new ArgbEvaluator());
 anim.setRepeatMode(Animation.REVERSE);
 anim.setRepeatCount(Animation.INFINITE);
 anim.start();
The complete code for the Activity is the following :
package com.ssaurel.blinkeffect;

import android.animation.ArgbEvaluator;
import android.animation.ObjectAnimator;
import android.graphics.Color;
import android.os.Bundle;
import android.support.v7.app.AppCompatActivity;
import android.view.View;
import android.view.animation.Animation;
import android.widget.Button;
import android.widget.TextView;

public class MainActivity extends AppCompatActivity {

 private TextView txt;
 private Button blinkBtn;

 @Override
 protected void onCreate(Bundle savedInstanceState) {
  super.onCreate(savedInstanceState);
  setContentView(R.layout.activity_main);
  txt = (TextView) findViewById(R.id.txt);
  blinkBtn = (Button) findViewById(R.id.btn);
  blinkBtn.setOnClickListener(new View.OnClickListener() {
   @Override
   public void onClick(View v) {
    manageBlinkEffect();
   }
  });
 }

 private void manageBlinkEffect() {
  ObjectAnimator anim = ObjectAnimator.ofInt(txt, "backgroundColor", Color.WHITE, Color.RED,
   Color.WHITE);
  anim.setDuration(1500);
  anim.setEvaluator(new ArgbEvaluator());
  anim.setRepeatMode(Animation.REVERSE);
  anim.setRepeatCount(Animation.INFINITE);
  anim.start();
 }
}
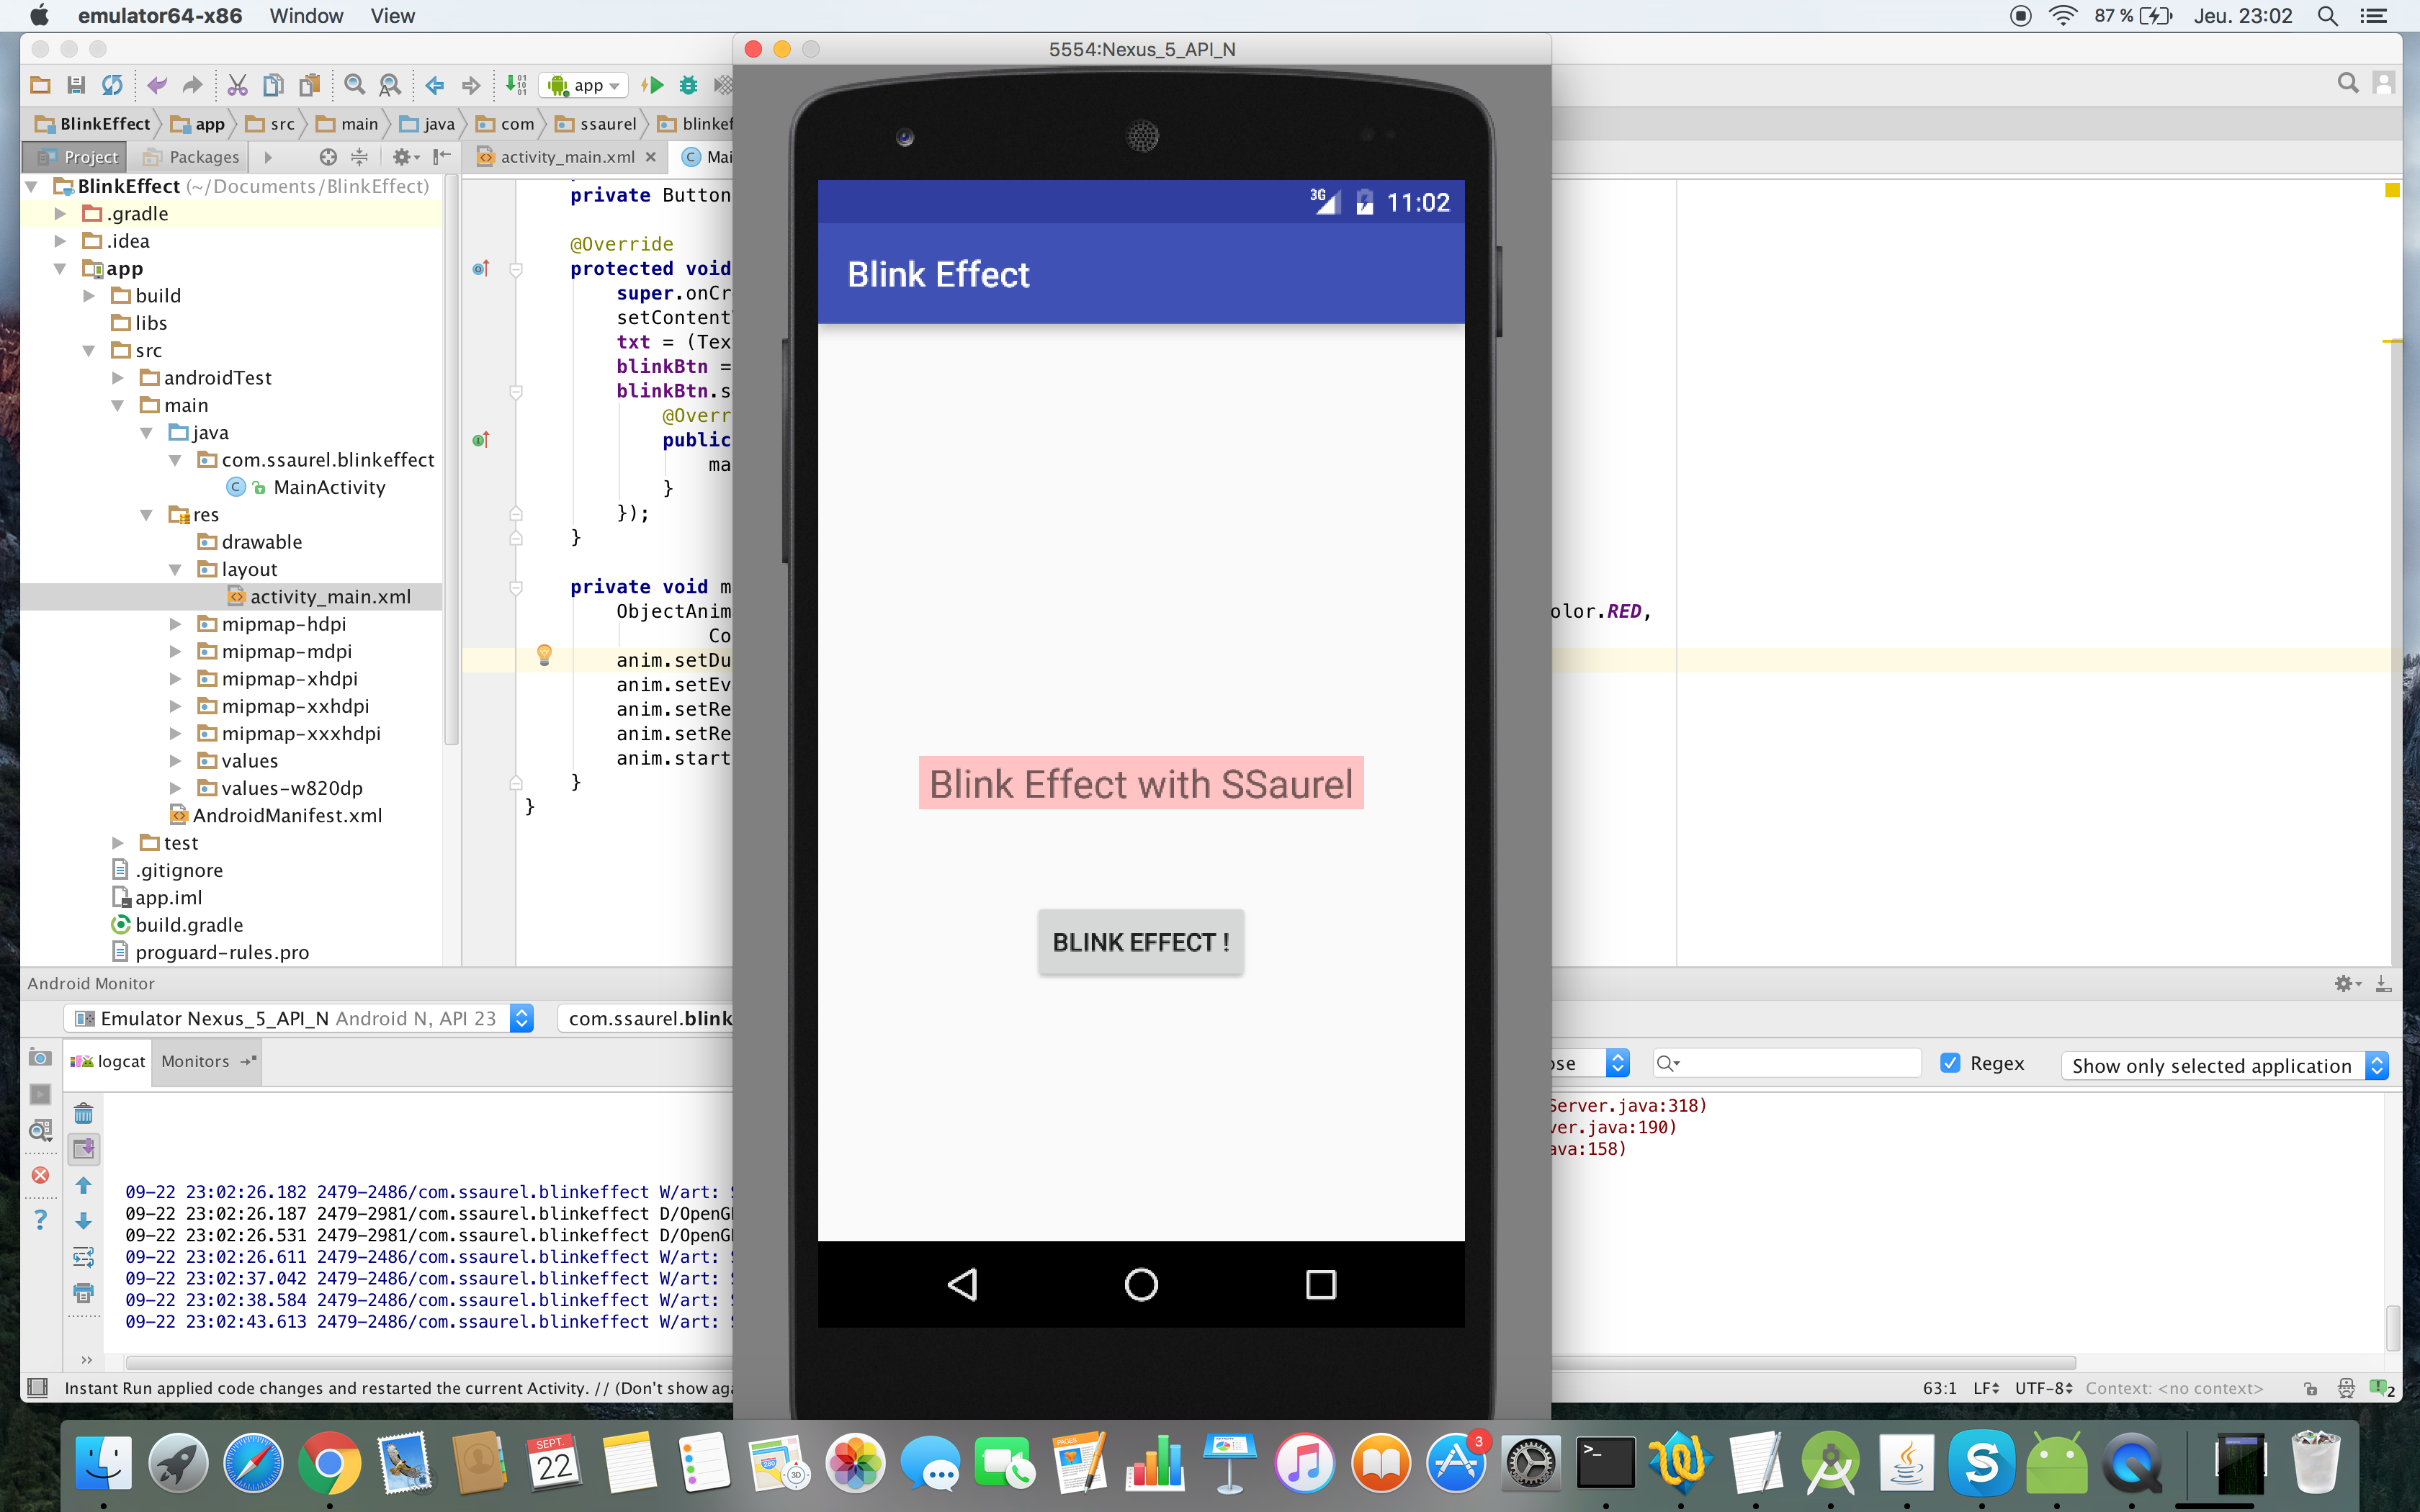
Finally, you can launch the application and enjoy your cool blink effect :


Leave a Reply
You must be logged in to post a comment.